Documentation
Welcome to Locinos! Get familiar with how our platform works and explore its main
features:
Introduction
Locinos is an AI-powered Local Business Outreach Automation platform. It helps business owners—such as
restaurants, salons, gyms, and cleaning services—automatically find nearby workplaces and send
personalized offers via Email, WhatsApp, or SMS, without needing any marketing experience.
Who is it for?
- Restaurants & cafés sharing weekly menus or lunch deals
- Salons & spas promoting seasonal packages
- Gyms & studios offering trial sessions or memberships
- Cleaning & maintenance services targeting local offices
How it works
- Log in and create or upload your weekly offer or menu.
- Select your target radius on the map and apply category filters.
- Choose your campaign type: Email, WhatsApp, or SMS.
- Launch your campaign—Locinos sends personalized messages automatically.
- Check replies in your Inbox; interested contacts are added as Leads.
- Track performance, export reports, and manage your subscription in one panel.
Main sections you’ll use
- Dashboard: Overview of sent campaigns, replies, leads, and performance metrics.
- Offers / Menus: Create, preview, duplicate, or archive your promotional offers.
- Target Area: Define map radius, filter by category, and save preferred areas.
- Campaigns: Create and manage Email, WhatsApp, or SMS campaigns; schedule, pause,
or monitor performance.
- Inbox / Replies: Manage responses: mark as Interested, Not Interested, or Follow
Up.
- Leads / Clients: Track your sales pipeline: New → Contacted → Quoted → Won /
Lost.
- Analytics: Review open, click, and reply rates; export PDF/CSV reports.
- Billing & Subscription: Manage plans, quotas, payments, invoices, and renewals.
- Company Profile: Update business info, upload logo, and customize message
footers.
- Settings: Manage language, time zone, password, notifications, and data
export/delete.
- Support: Access tutorials, FAQs, tickets, and onboarding assistance.
Why it matters
- Automates local lead discovery and outreach across Email, WhatsApp, and SMS.
- Simple, affordable, and scalable for any local business.
- Expands easily to new neighborhoods or international markets.
Get started
Create your first offer, set your target area on the map, choose your campaign type, and
launch—Locinos will handle the outreach and organize replies so you can focus on serving new clients.
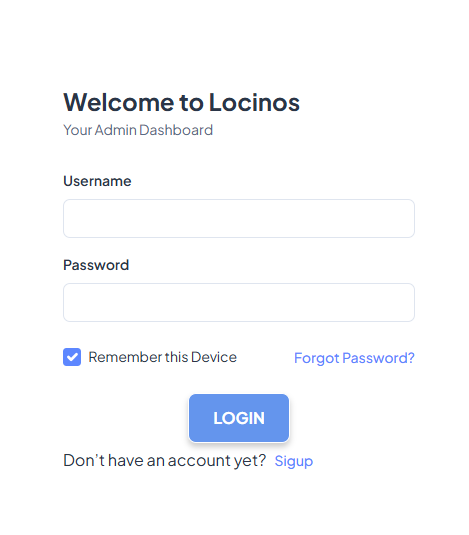
Sign In to Locinos
Access your business panel to create weekly offers, target nearby offices, and run automated
outreach from one simple dashboard.
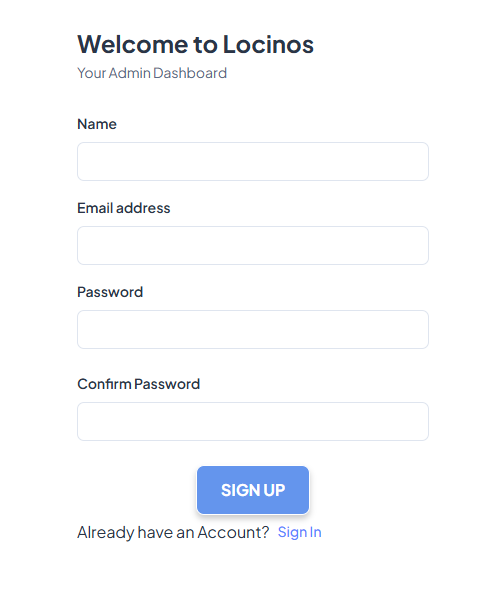
New here? Create your account
Start with the free plan. Set your business name, logo, and contact details—then you’re ready
to publish your first offer.
After sign-up, use the same email and password to access your dashboard anytime.
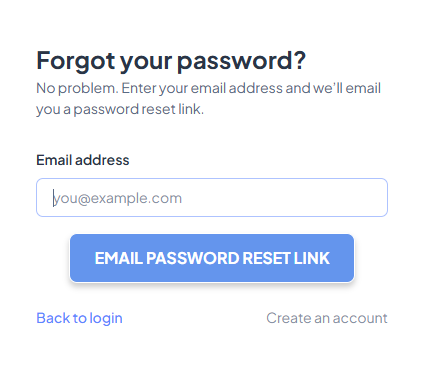
Secure, simple sign-in
Use your email and password to sign in securely. Your sessions are protected and you can
enable password resets anytime.
Click “Forgot Password” to get a reset link.
Leads & Discovery
Welcome to Locinos! Use this workspace to define your target area, scan nearby
businesses, and turn matches into leads—fast and without manual research.
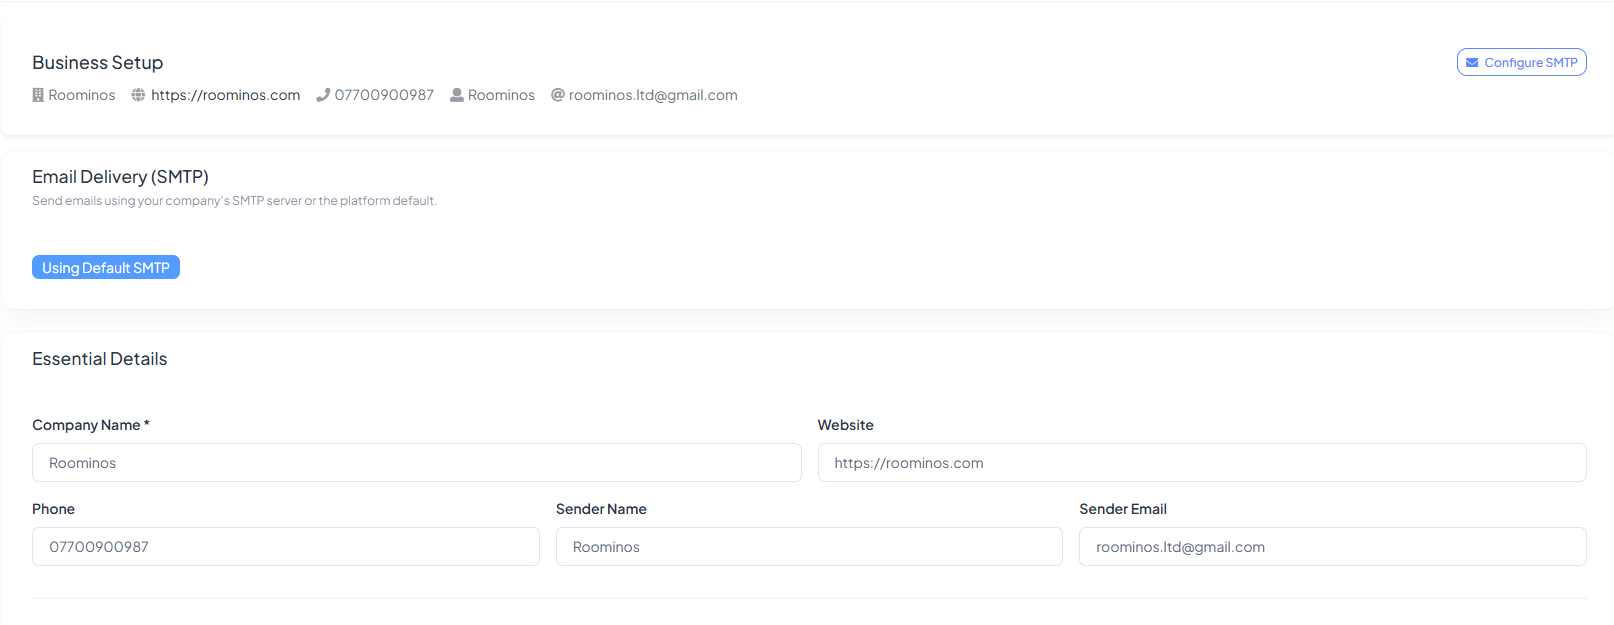
Business Setup & Sender
Confirm your company details and sender email (SMTP) so outreach is branded and
deliverable. You can use the default SMTP or connect your own.
It ensures your campaigns send from a trusted identity.
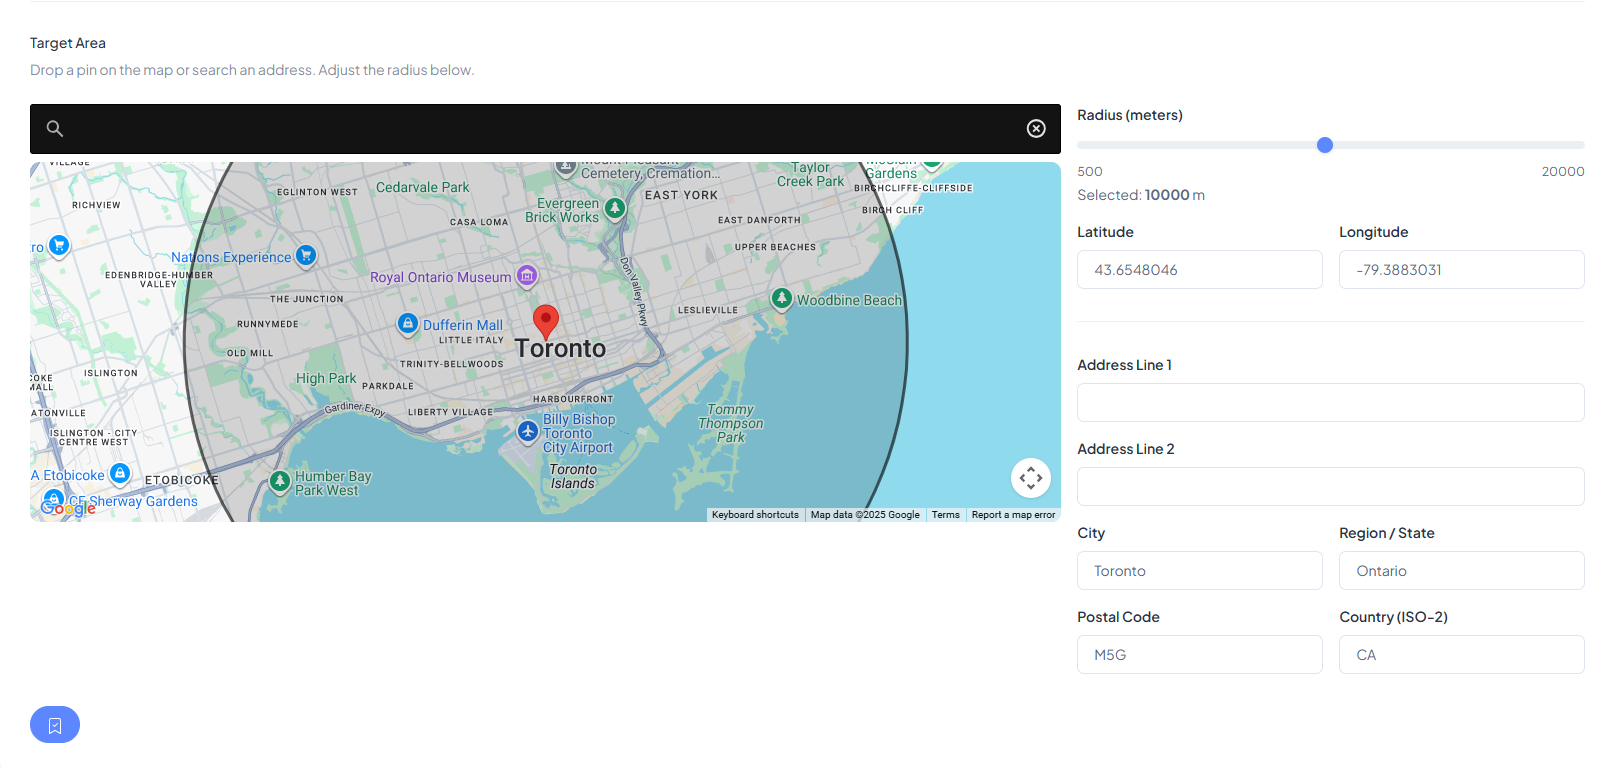
Pick Your Target Area on the Map
Drop a pin or search an address, then adjust the radius slider. Location details
(lat/lng, city, region, country) are captured for precise targeting.
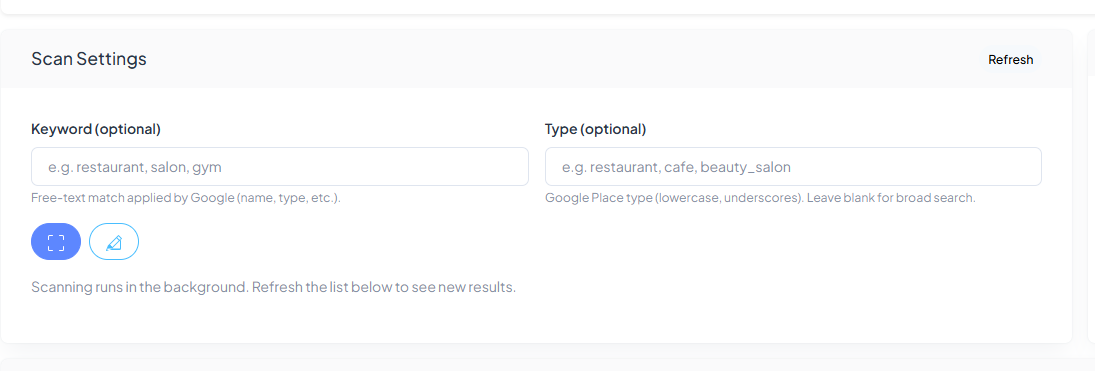
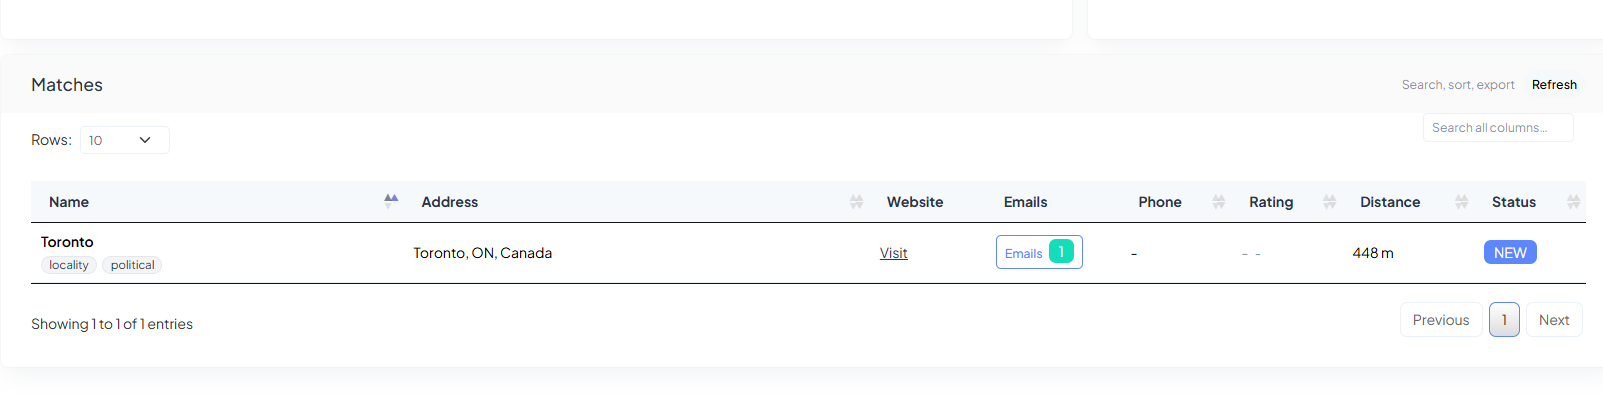
Scan Nearby Businesses & Review Matches
Start the scan and let it run in the background. Use Refresh to load new results.
Inspect websites, collect emails, and save promising items to your list.
Saved List → Build Your Local Leadbook
Keep your best matches in the Saved Leads view. From here, launch campaigns, track
replies, and move contacts into your pipeline.
Quick Guide
- Set sender & brand: company name, website, sender email.
- Choose area: pin + radius; refine with keyword/type if needed.
- Scan & review: open websites, collect emails, save best matches.
- Next step: create a campaign and contact your saved leads.
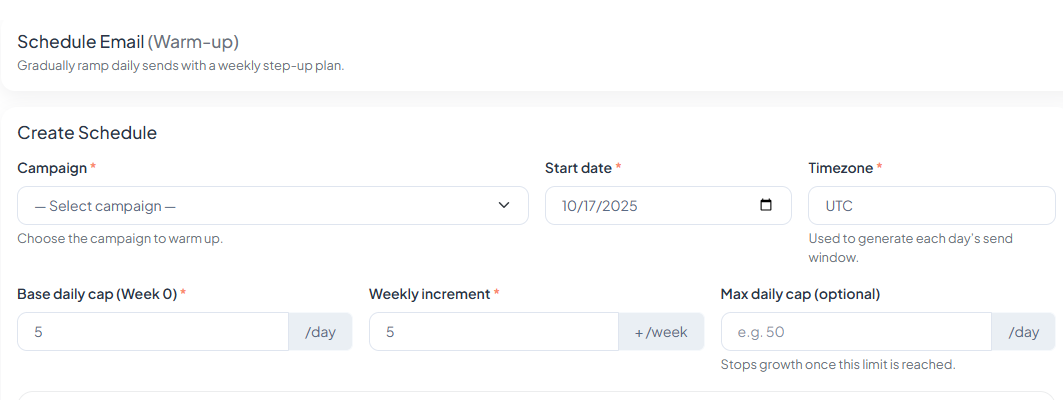
Schedule Email (Warm-up)
Welcome to Locinos! Gradually ramp daily sends with a weekly step-up plan. Configure
caps, pick a timezone, and keep deliverability high with authenticated sending.
Create your schedule
Select a campaign, choose the start date and timezone, then set caps to
control growth.
Base daily cap (Week 0), Weekly increment, optional Max daily cap.
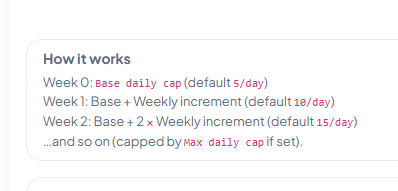
How the warm-up grows
Week 0 sends the base cap. Each next week adds the Weekly increment (until the
optional Max cap is reached). The summary shows start date, timezone, Week-0 cap, growth
per week, and Week-1 total.
Tip: If deliverability dips, lower the weekly increment and hold steady for a week.
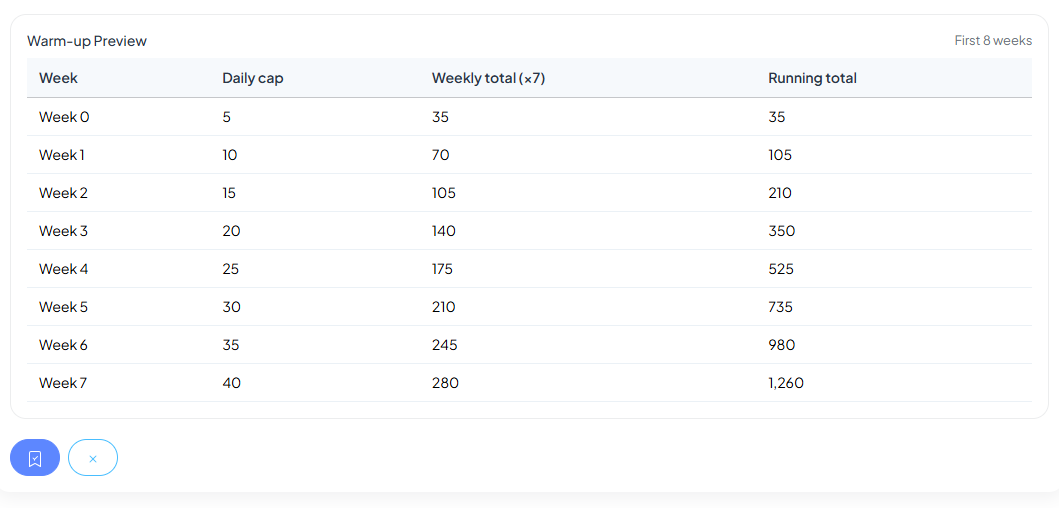
Preview the first 8 weeks
See Daily cap, Weekly total, and Running total by week before you start.
Adjust inputs to update the preview instantly.
Deliverability tips (avoid spam)
- Authenticate your domain: set up SPF, DKIM, and DMARC.
- Warm up gradually as configured. Avoid sudden volume spikes.
- Keep a consistent From name/address; avoid frequent sender changes.
- Write clear subjects; avoid spammy wording and excessive punctuation.
- Remove hard bounces and non-openers; prioritize engaged contacts.
- Include an unsubscribe link and valid physical address.
- Balance HTML and text; avoid image-only emails; keep code clean.
Email Marketing
Welcome to Locinos! Design branded templates, organize recipients into business
groups, and launch campaigns that you can track end-to-end—all inside one workspace.
Templates — Drag, drop, and save
Build professional emails with the visual editor: columns, buttons,
images, social blocks, and custom HTML. Save designs to reuse, and organize them
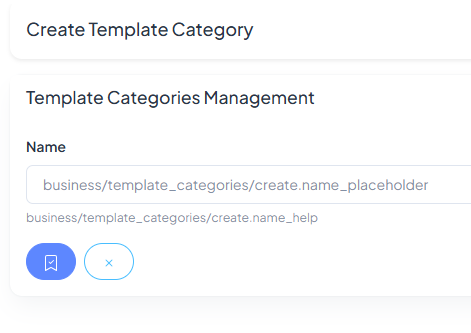
by Categories for quick access.
Create categories (e.g., Offers, Announcements) to keep your library tidy.
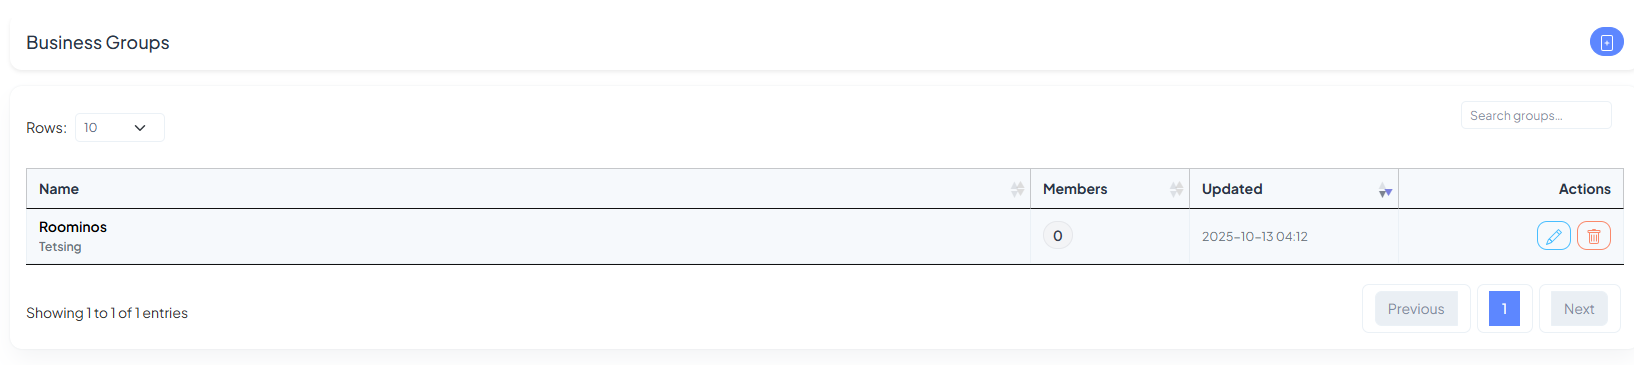
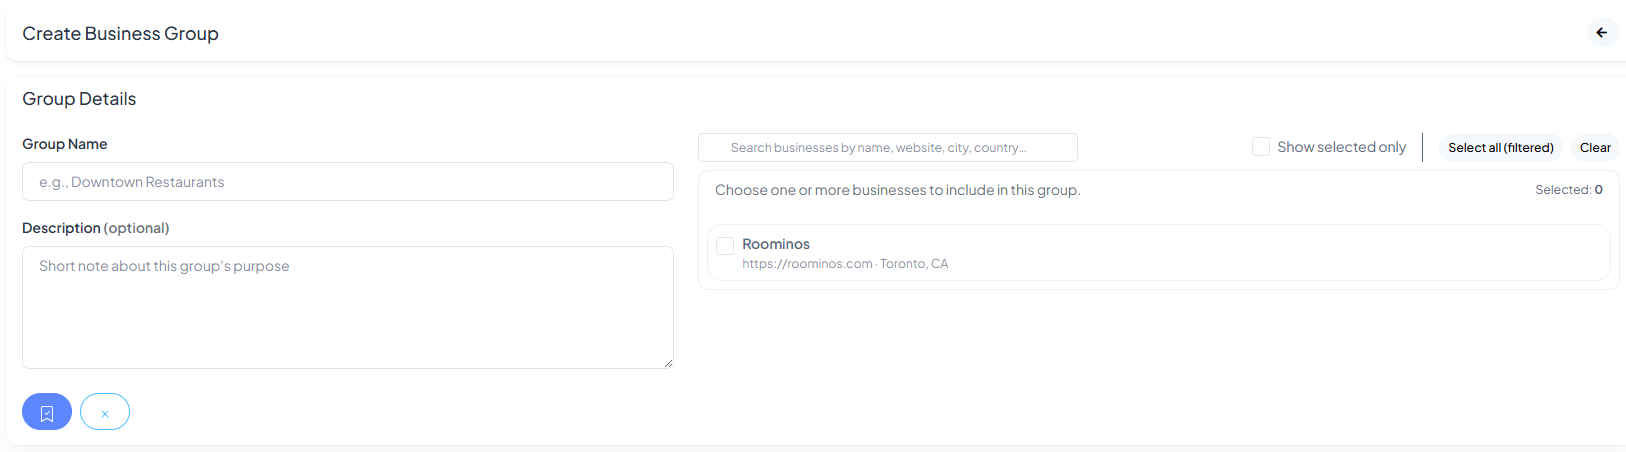
Business Groups — Target the right audience
Create groups from your saved businesses (e.g., “Downtown Offices”, “Gyms in M5G”). Add a
name and optional description, then select one or more businesses to include.
Use search to find businesses by name, website, city, or country. Toggle Show
selected only to review your final list before saving.
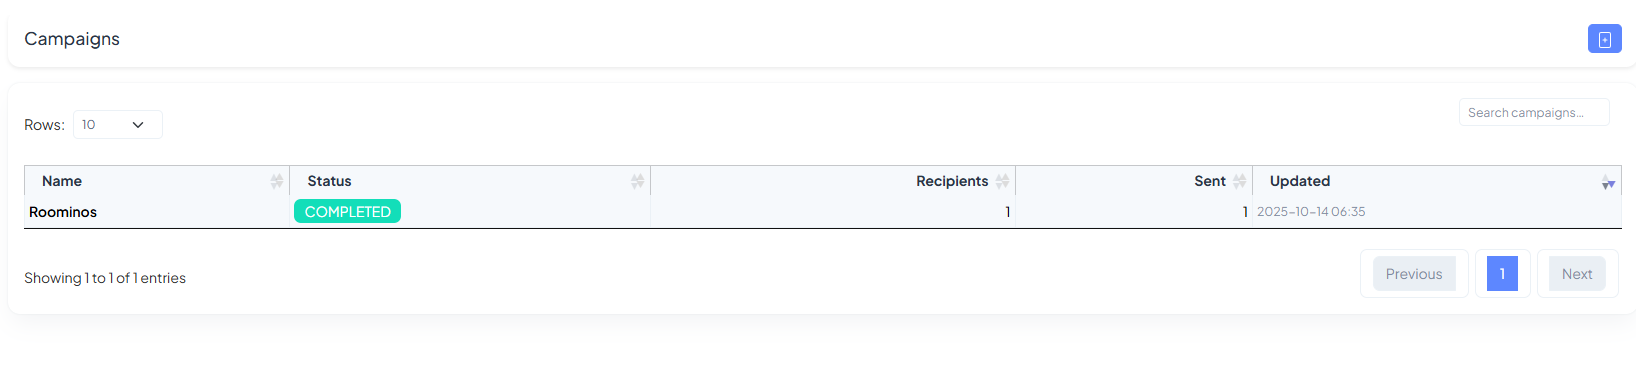
Campaigns — Compose, target, send
Give your campaign a name and clear subject, then either load a template
or paste your own HTML. Choose one or more Business Groups to receive the message.
Track status at a glance—Completed, recipients, and sent count—so you always know what
went out and when.
Quick Tips
- Start with templates: keep brand, fonts, and layout consistent.
- Segment with groups: target by area or business type for higher relevance.
- Mind deliverability: use authenticated domains (SPF, DKIM, DMARC) and clear subjects.
- Test first: send to a small group before scaling up.
- Measure & iterate: use campaign lists and analytics to refine content and timing.
WhatsApp Marketing
Launch, track, and automate Meta-approved WhatsApp messages to your customers.
This guide walks you through Setup, Templates, Campaigns, and
Automation, with screenshots and quick tips called out by arrows.
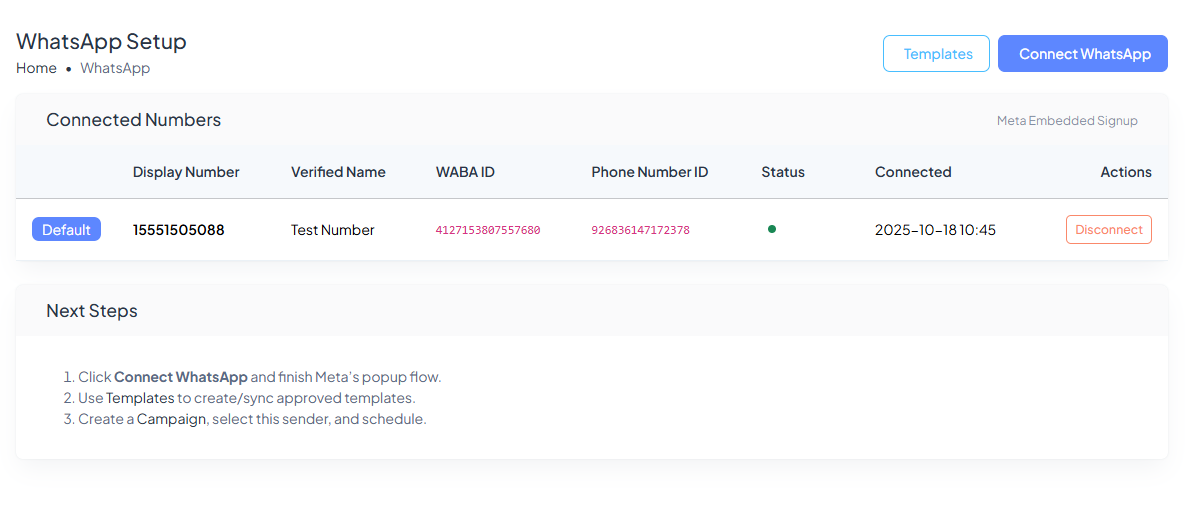
1. Setup — Connect your WhatsApp Business number
Use Meta Embedded Signup to connect your sender. Once connected you’ll see your
Display Name, WABA ID, Phone Number ID, live
Status, and a Connected timestamp.
- • Click Connect WhatsApp and complete Meta’s popup flow.
- • Set one number as Default (used by campaigns unless specified).
- • You can disconnect here at any time.
Important: To use WhatsApp Marketing you must have a Meta (Facebook) account
that can access
Meta for Developers and complete the embedded signup. If you don’t have one yet,
create/verify your account first,
then return to WhatsApp → Setup and click Connect WhatsApp.
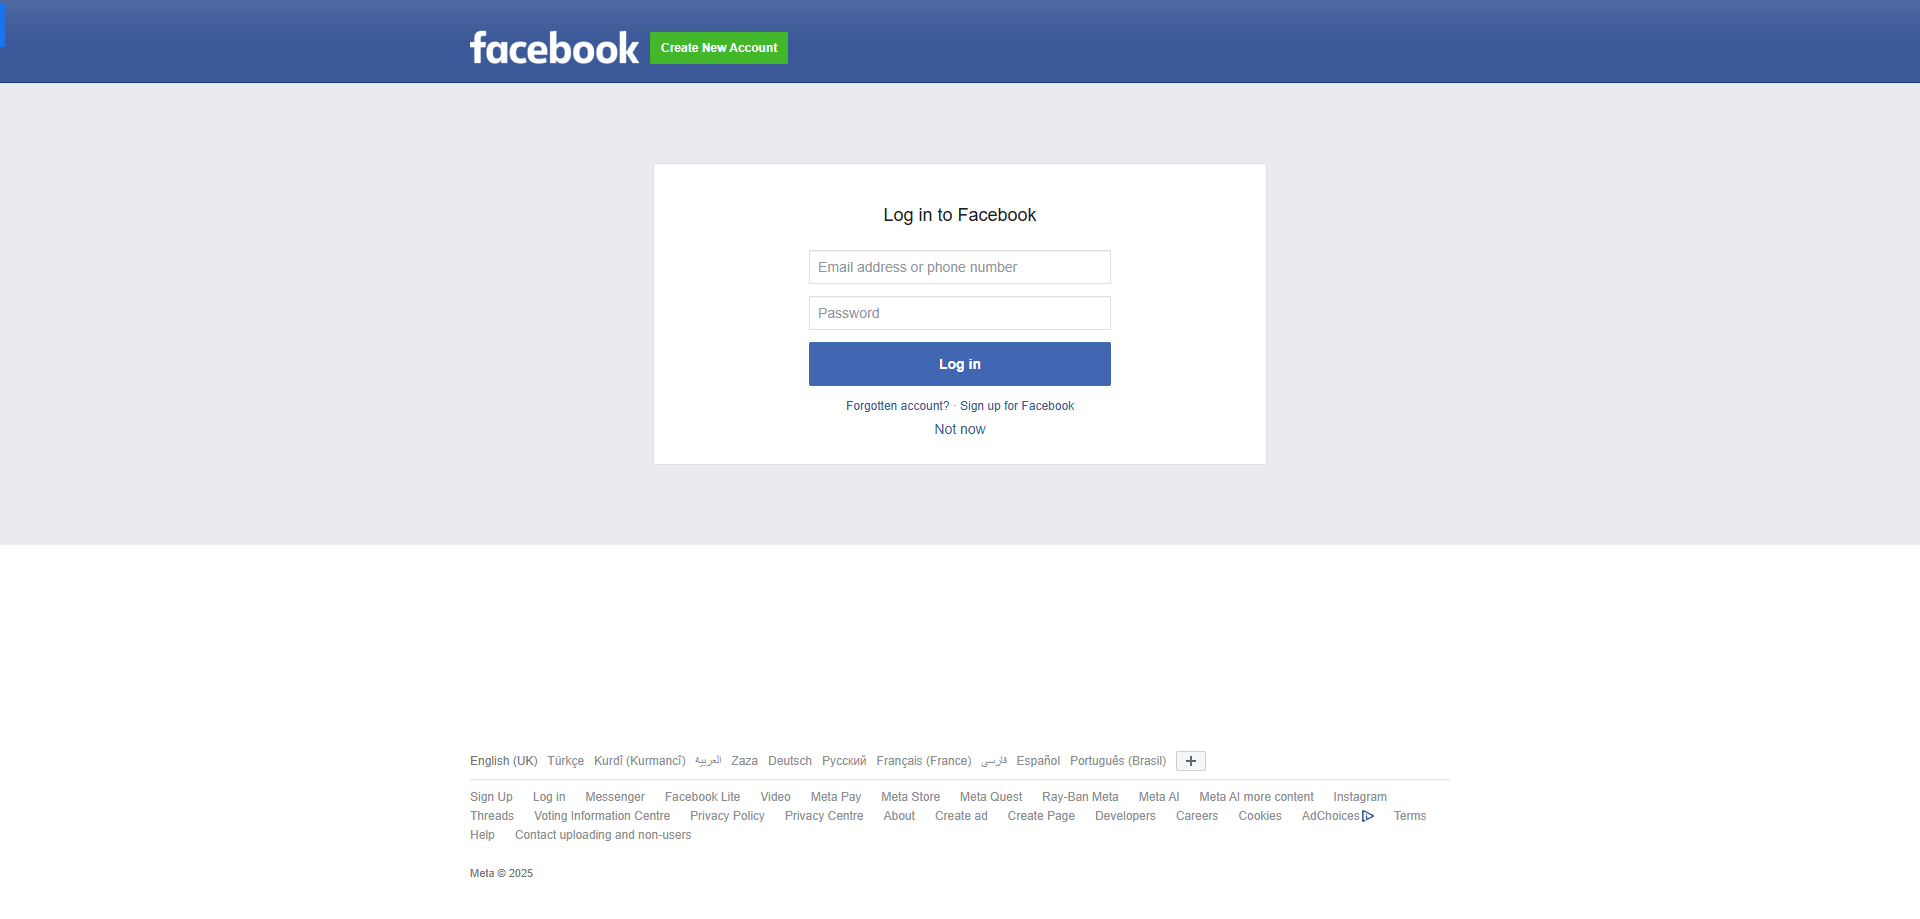
1. Sign in to Facebook
Use your existing Facebook credentials or create a new account. This identity is used to access
Meta for Developers
and to authorize your WhatsApp Business connection.
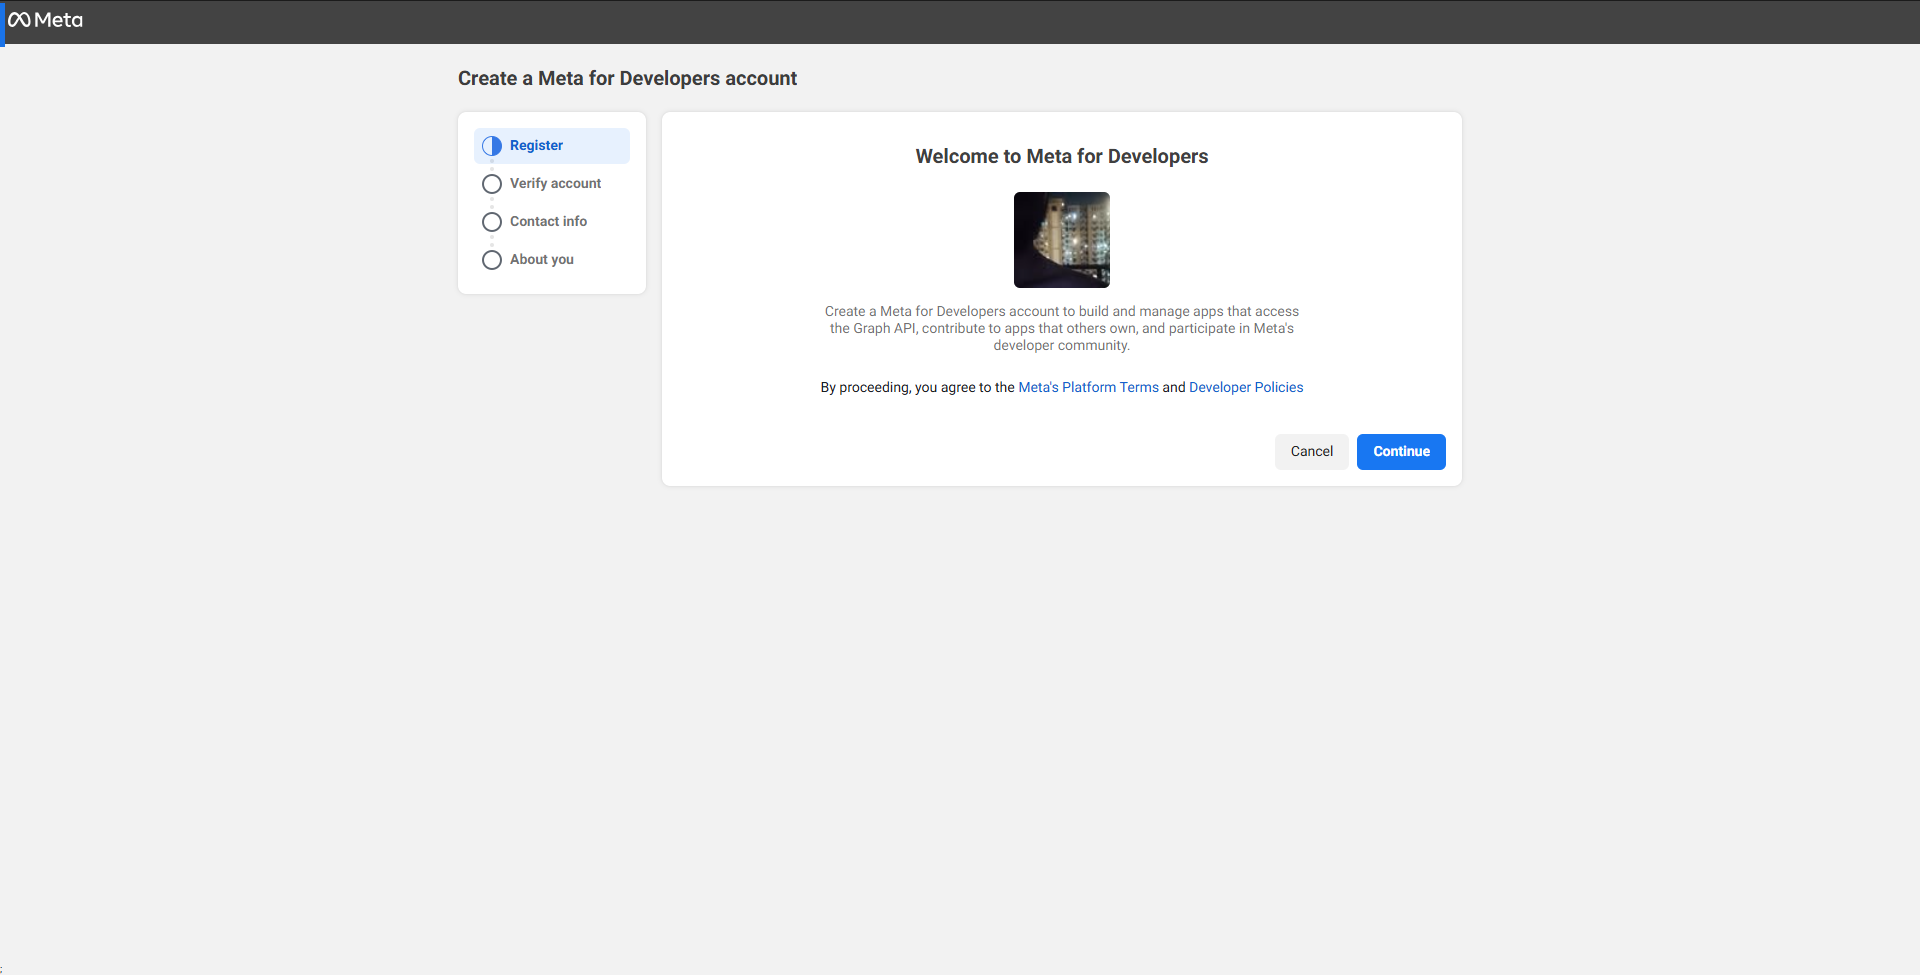
2. Register on Meta for Developers
Click Continue to accept the platform terms and finish the short registration flow
(verify account, add contact info,
and basic details). This unlocks the tools needed for WhatsApp Business API, so Locinos can
connect via
Meta Embedded Signup.
What’s next? After your Meta account is ready, head back to WhatsApp →
Setup in Locinos and click
Connect WhatsApp. Follow the on-screen steps to pick your Business Account, number, and
complete the connection.
Then create Templates, launch Campaigns, and (optionally) set up Schedules.
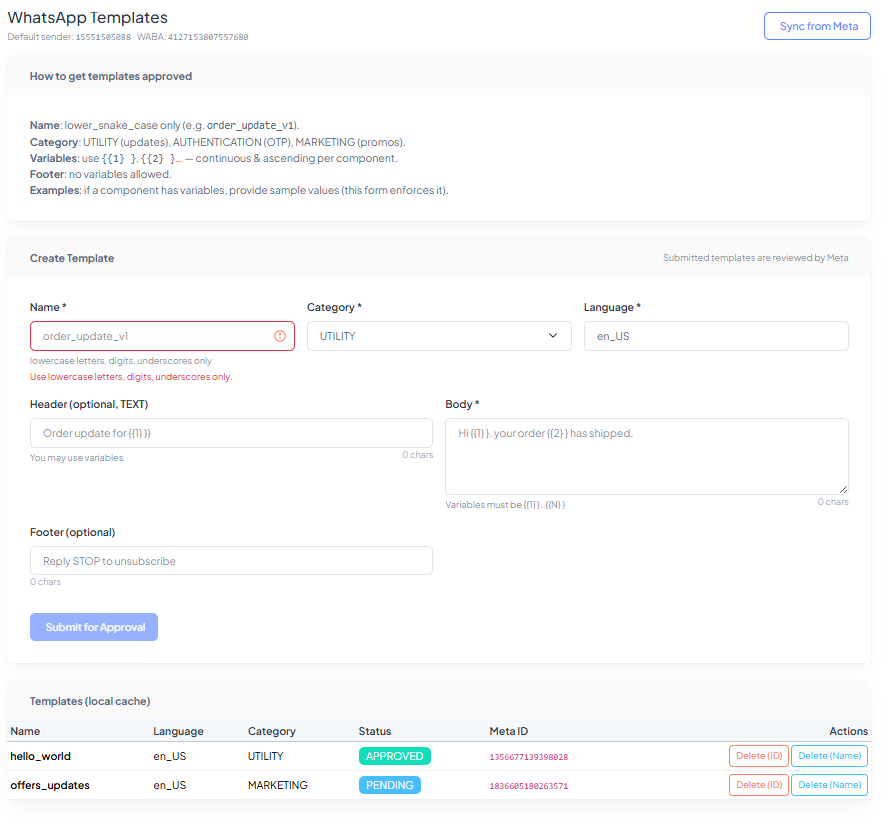
2. Templates — Create & sync Meta-approved content
Build templates that meet Meta’s policy. Choose a Category (UTILITY,
AUTHENTICATION, or MARKETING), a Language, and compose the content with optional
{{variables}}.
- • Use lower_snake_case for the template name.
- • Helpful fields: Header, Body, Footer.
- • Click Submit for Approval (status will show PENDING then
APPROVED).
- • Sync from Meta to refresh the local cache of templates.
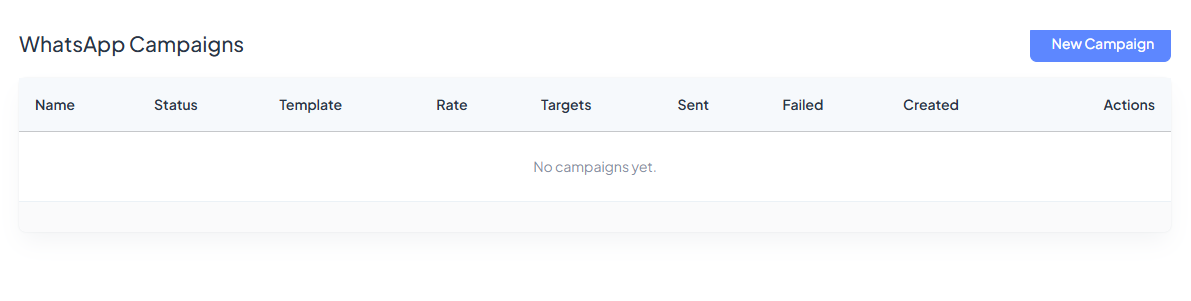
3. Campaigns — Create and monitor sends
The Campaigns List summarizes each run: Status, chosen Template,
Rate, Targets, and delivery counters (Sent, Failed).
Use New Campaign to start one, or return later to review results.
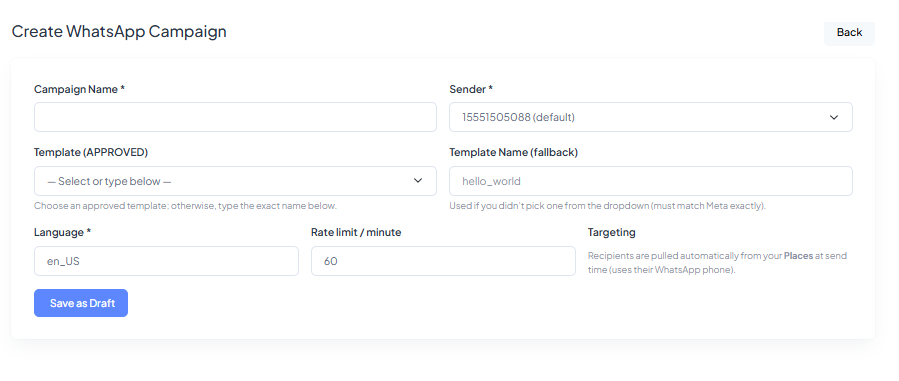
When creating a campaign, fill in:
- • Campaign Name and the connected Sender.
- • An APPROVED Template (pick from dropdown) and Language.
- • Rate limit / minute to control throughput.
- • Targeting is pulled from your Places automatically (uses their WhatsApp phone).
Click Save as Draft to store and schedule it later.
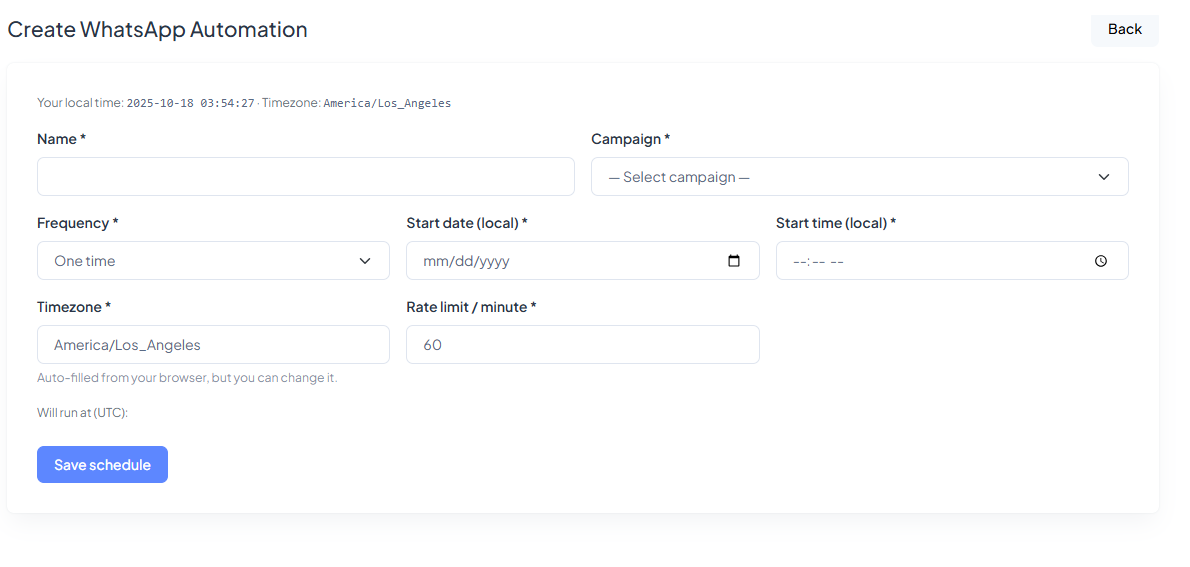
4. Automation — Schedule your campaign
Turn a draft into a hands-off, recurring send. Name the schedule, select the
Campaign, choose a Frequency, and set local Start date, Start time,
and Timezone.
- • Rate limit / minute here overrides the campaign if needed.
- • We show when it will run in UTC so you can verify server execution time.
Click Save schedule and you’re done—messages will go out automatically.
Quick Checklist
- Connect your WhatsApp number in Setup.
- Create and get Templates approved (or sync existing).
- Build a Campaign with sender, template, language, and rate.
- Schedule it in Automation for one-time or recurring delivery.
Finance Management
Welcome to Locinos! Track money across bank and cash accounts, transfer funds
securely, and keep a clean audit trail for every movement.
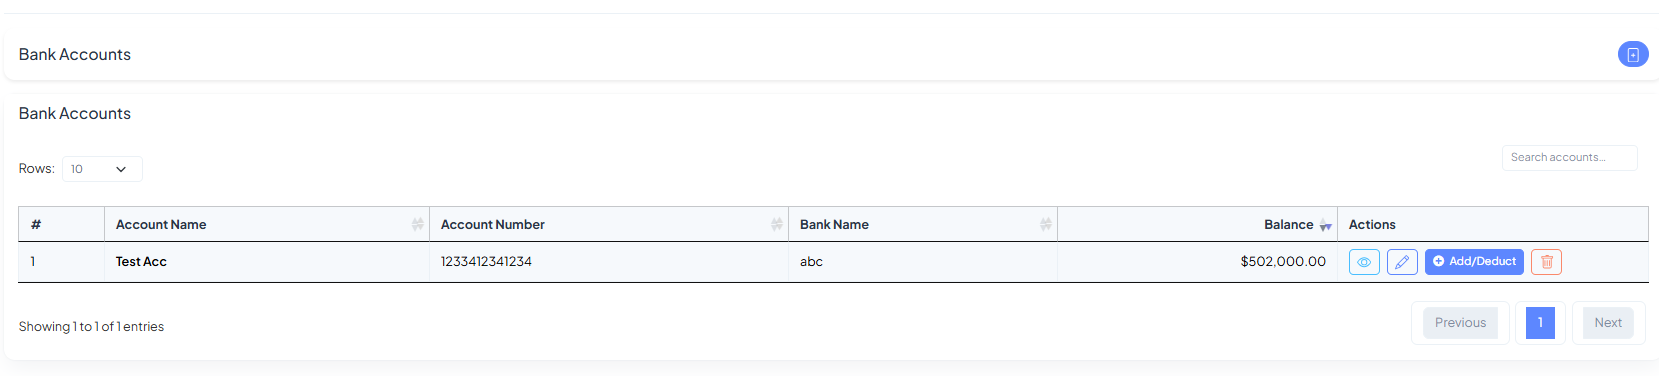
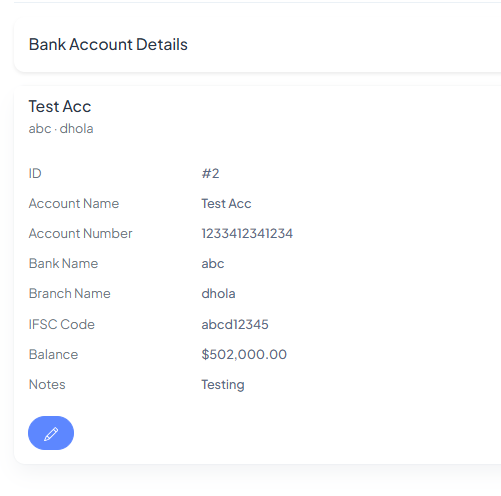
Bank Account — create, edit, and manage balances
Add your bank accounts with Account Name, Number, Bank & Branch, and
starting Balance. Use Notes for internal context.
Edit details, Add/Deduct funds (with reason), view account, or delete it from the
list.
- Balance updates are reflected instantly in the list.
- Keep IFSC/branch optional if not applicable.
See Accounts Details and Edit account details by clicking on edit icon.
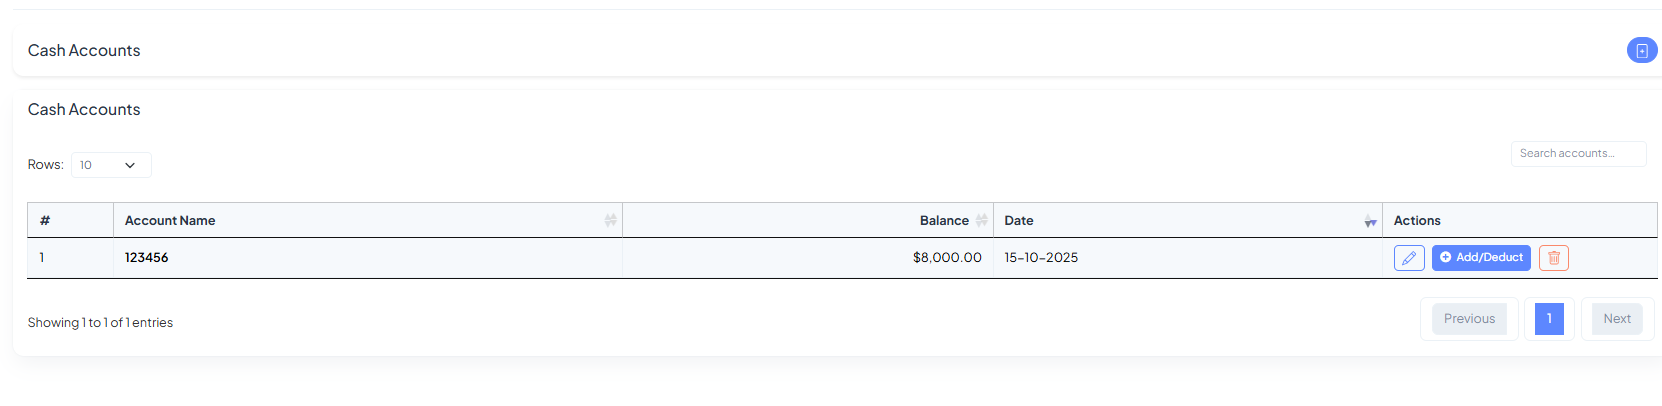
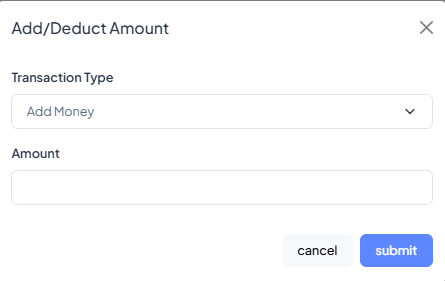
Cash Account — on-hand cash with add/deduct
Create a cash wallet with Account Name, opening Balance, and Date. From
the list, quickly Add/Deduct amounts via the modal and keep cash totals accurate.
Every adjustment is logged with type (Add Money / Deduct Money) and amount to
preserve a clear audit trail.
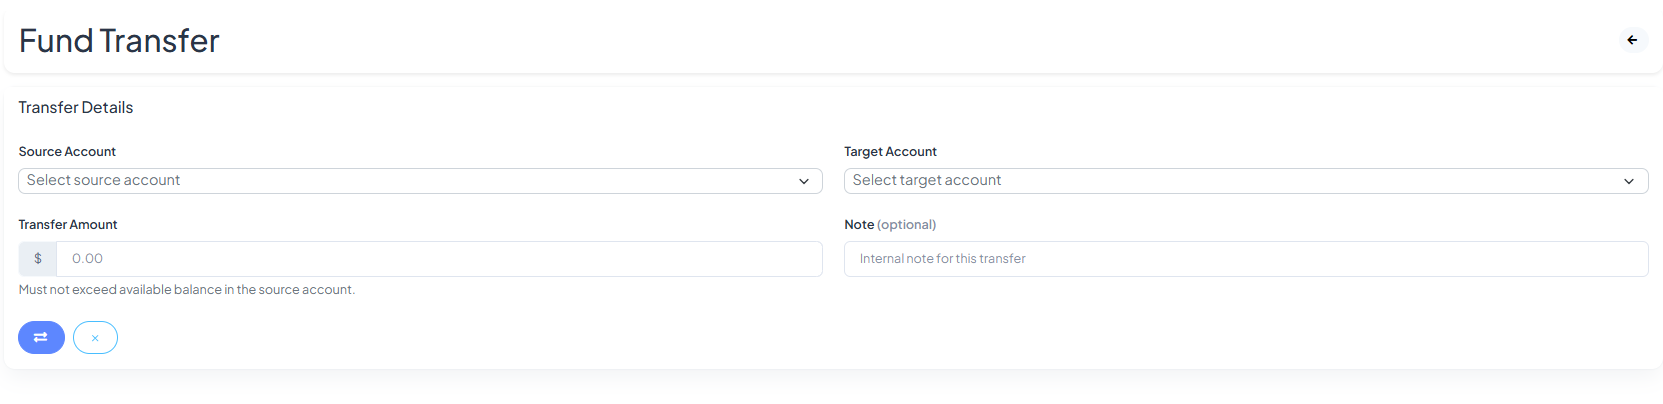
Funds Transfer — move money between accounts
Select a Source Account and a Target Account, enter the Amount, and add an
optional Note. Transfers can’t exceed the source balance.
- Works across bank ↔ cash or bank ↔ bank.
- Both accounts’ balances update instantly.
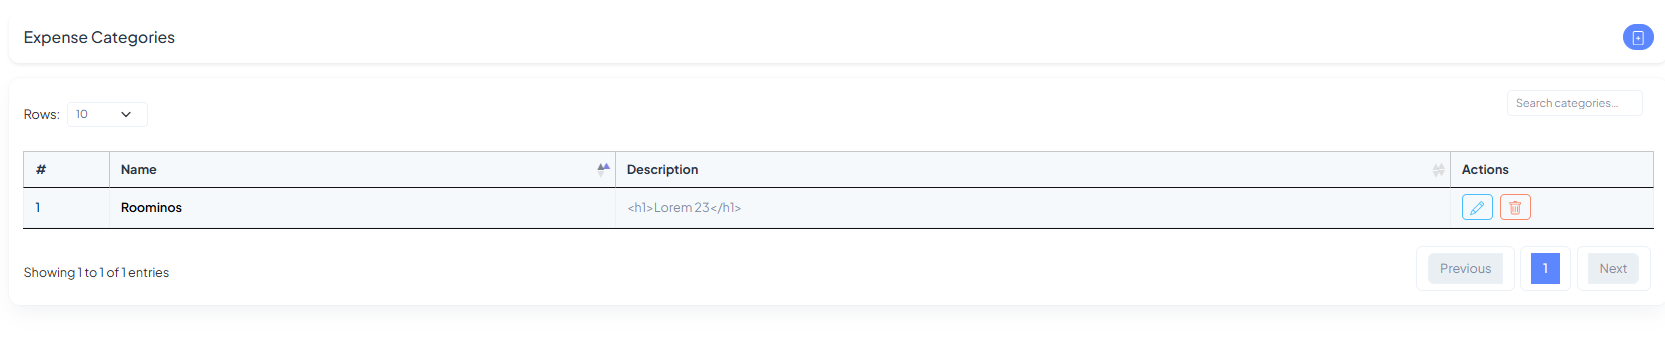
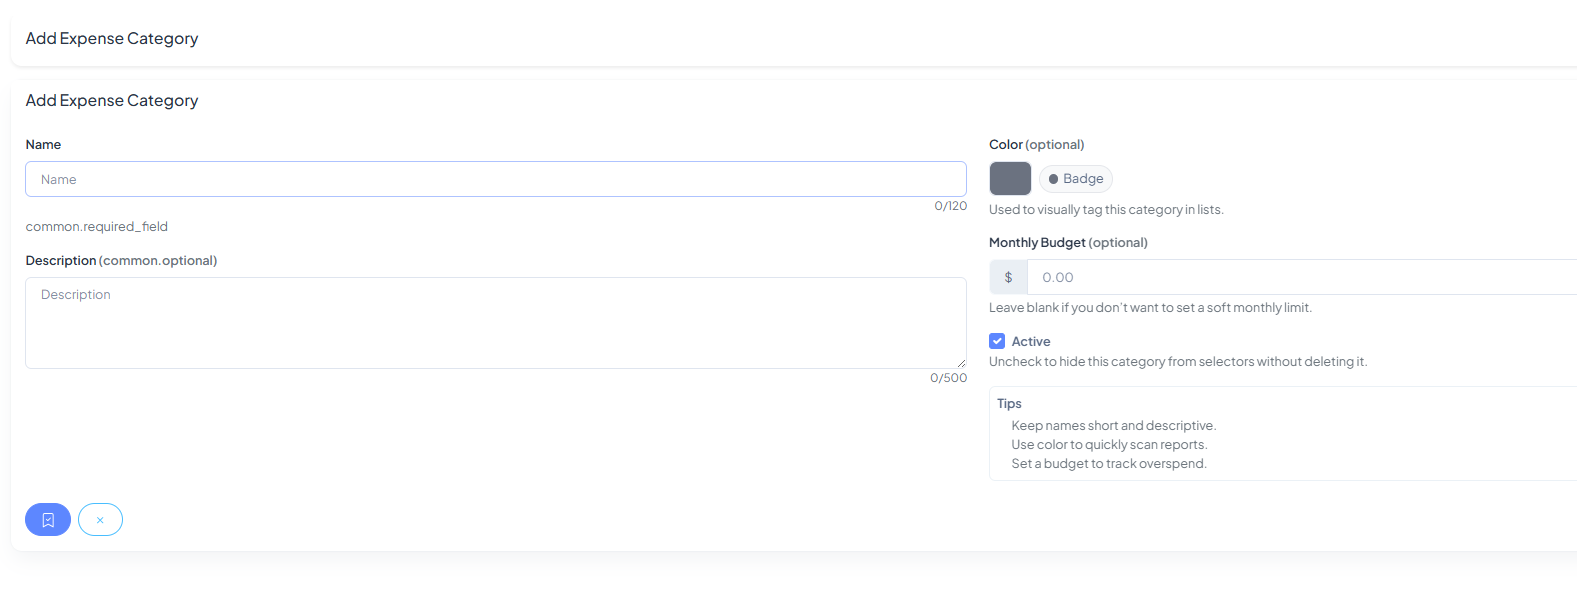
Expense Categories — organize your spend
Create reusable categories with a Name, optional Description, a visual Color
badge, and an optional Monthly Budget. Toggle Active to hide/show a category
without deleting it.
They make reports scannable and help prevent overspend with soft budgets.
- Edit or delete categories from the list view.
- Keep names short (e.g., Supplies, Marketing).
here you can Create Expenses and and also you can edit them by clicking on edit icon
from the list page .
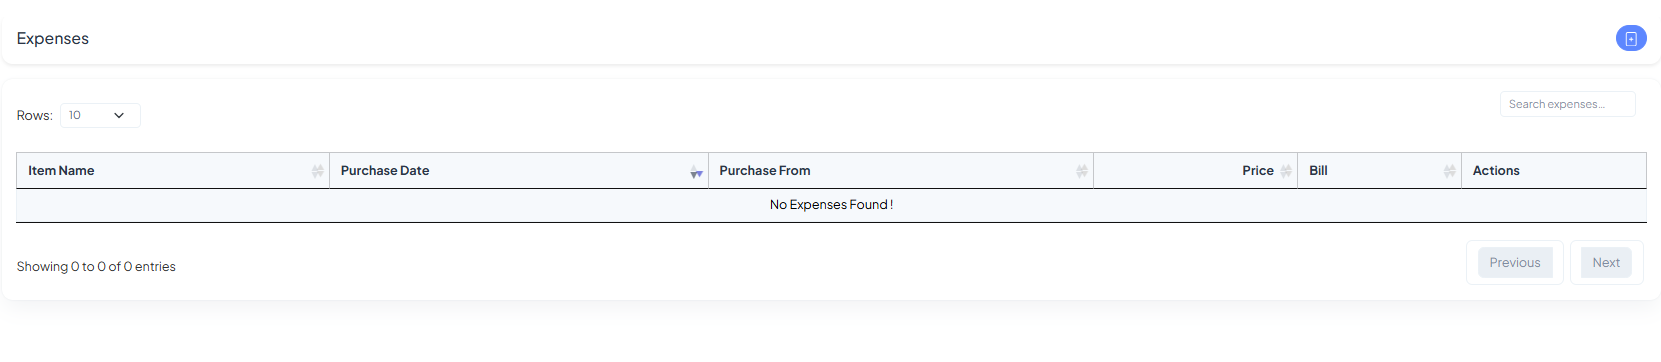
Expenses — log purchases in seconds
Add expense items with Item Name, Purchase Date, Vendor, Price, and
an optional Bill/receipt upload. Assign a Category to keep reporting clean.
- Search and paginate through the expense table.
- Edit or remove entries anytime—your balances update accordingly.
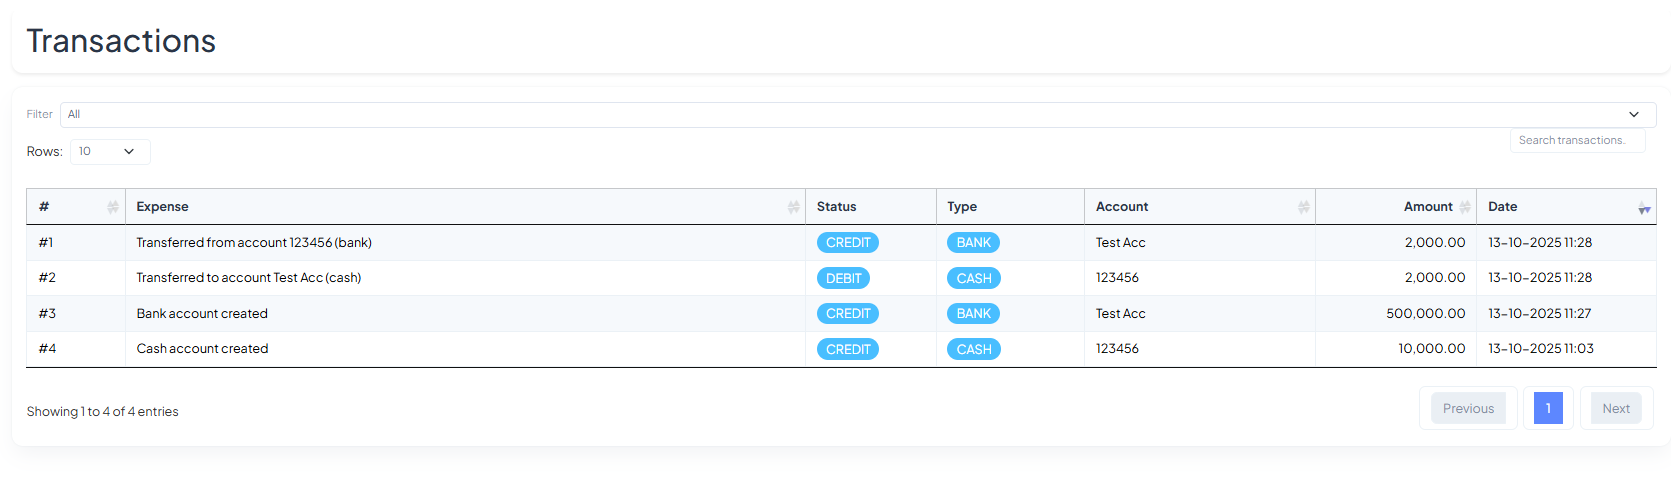
Transactions — your finance audit trail
See every movement across accounts in one ledger. Each row shows the description,
Status (DEBIT/CREDIT), Type (BANK/CASH), affected
Account, Amount, and Date.
- Use Filter and Search to find entries fast.
- Transfers and account creations are logged automatically.
- Balances in Bank/Cash reflect these entries in real time.
Human Resource (HR)
Welcome to Locinos HR. Manage people and structure with Departments, Designations, and
Employees. Each block below introduces the page layout and core actions, with screenshots for quick
orientation.
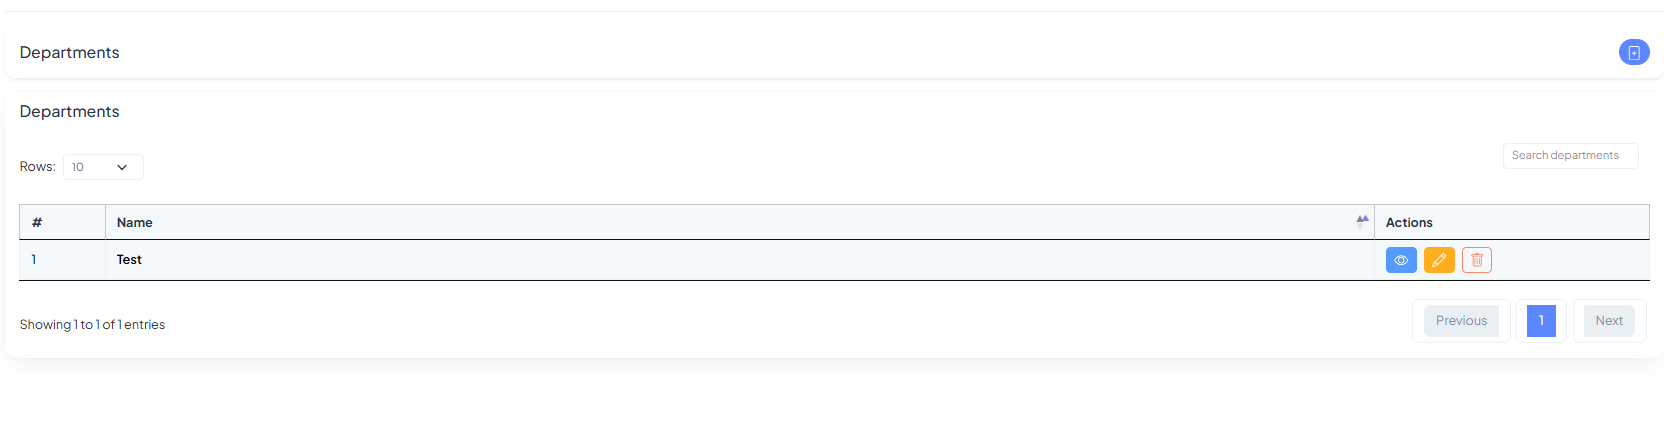
Departments
Departments List shows every department, with quick actions to view,
edit, or delete. Use the search box to find a department instantly.
Department Details provides a compact profile of the selected department with a
single-click edit button to update the name or metadata.
Add Department is a clean, one-field form. Enter a name and save—your department will
appear in the list immediately.
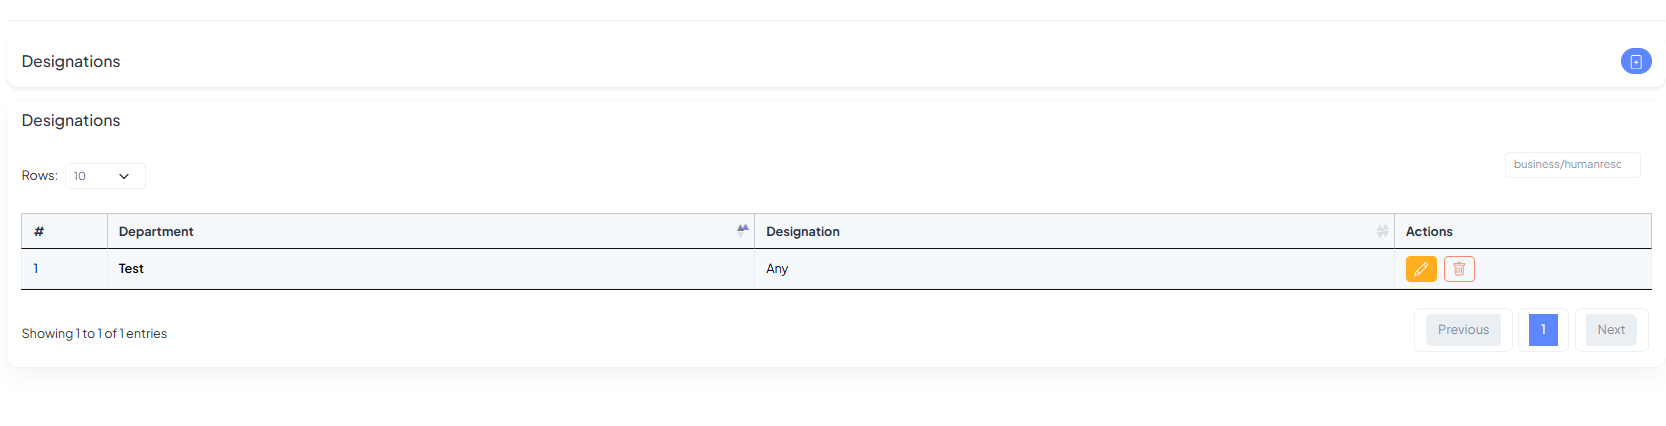
Designations
Designations List links every designation to its parent department. Edit or remove with
the action buttons on the right.
Add Designation lets you pick a department and provide a designation title. Save to make
it available across HR and hiring workflows.
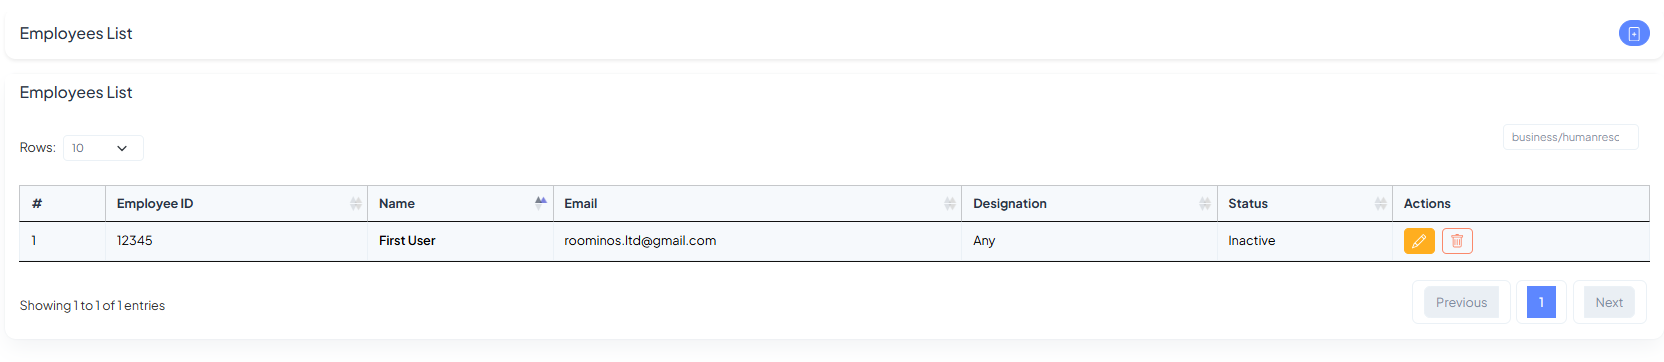
Employees
Employees List displays ID, name, email, designation, and status at a glance with inline
actions to edit or remove a profile.
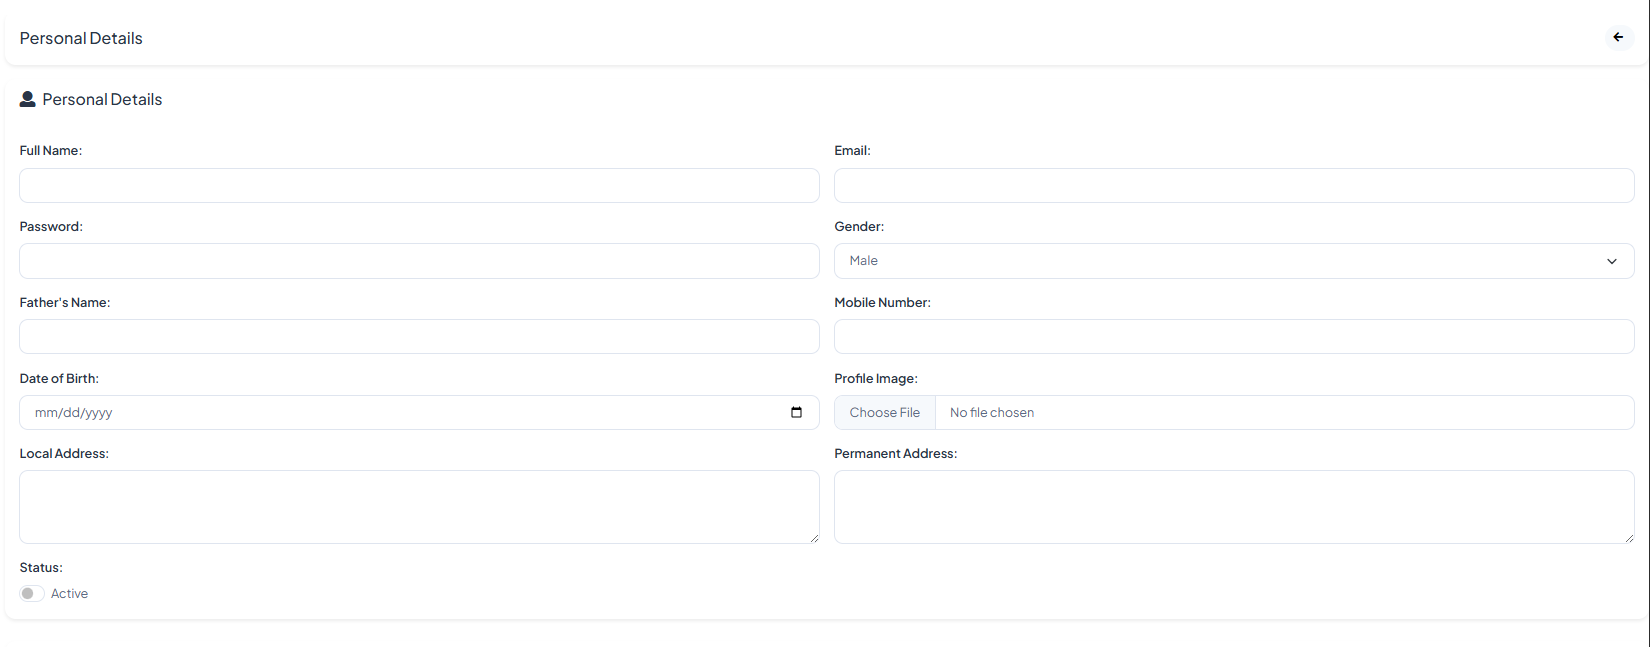
Create Employee – Personal Details collects core info such as full name, email, gender,
mobile, addresses, profile image, DOB, and status.
Company, Bank & Documents tabs capture job assignment (department, designation, joining
date & salary), bank information (holder, number, IFSC, branch), and key files (resume,
offer/joining letters, ID proof, contracts).
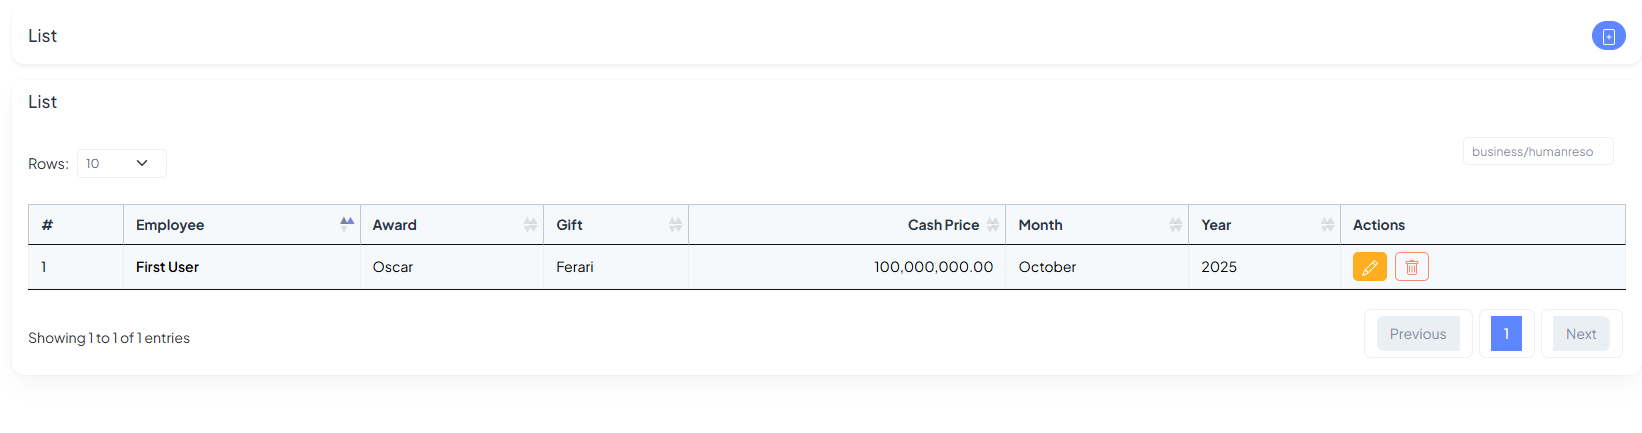
Awards
Create Award lets you recognise team members. Choose the Employee, set an
Award Name, optional Gift and Cash Prize, then pick the
Month and Year and save.
Awards List shows the full history of company awards with quick actions to edit
or delete entries.
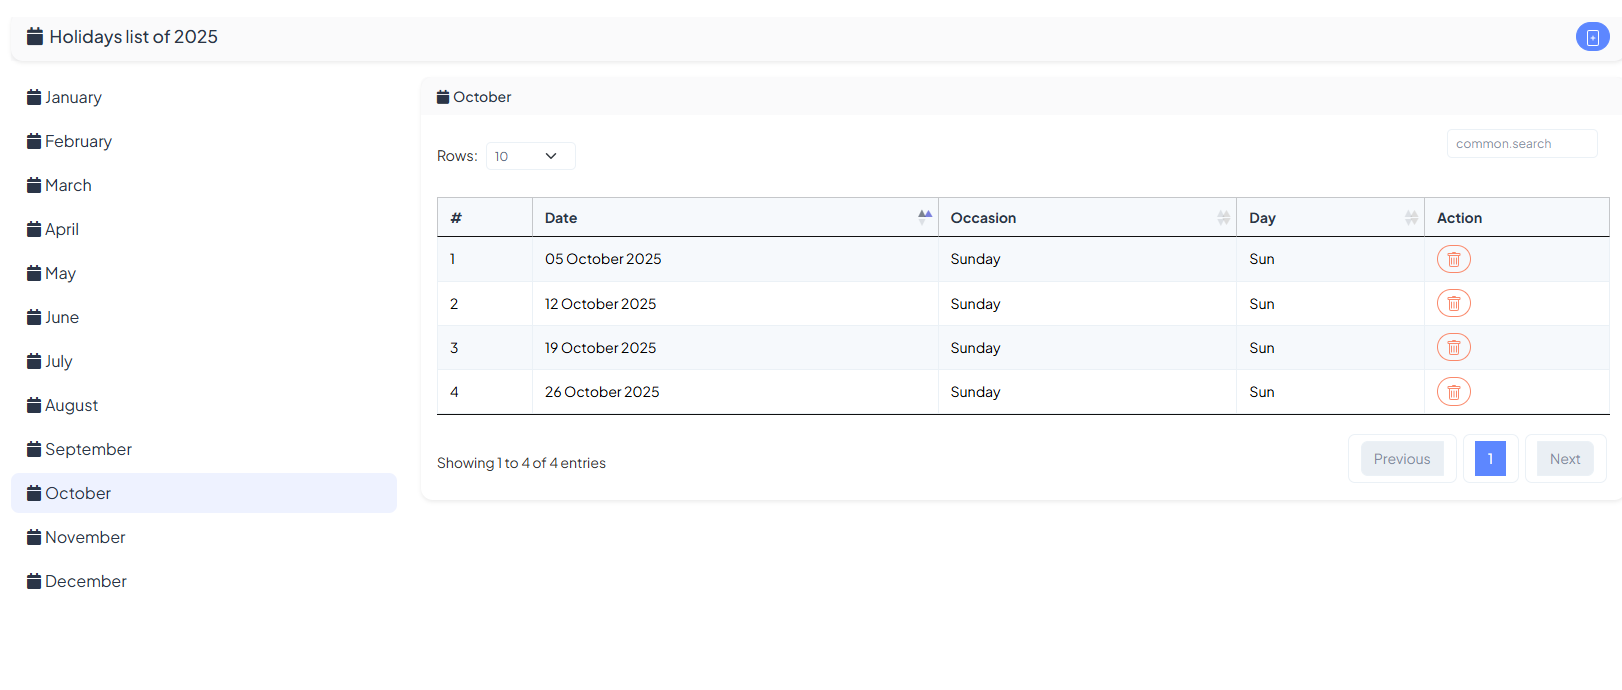
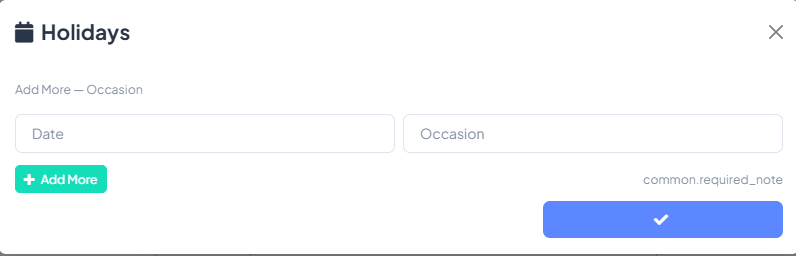
Holidays
Holidays by Month lists official off-days. Use the left sidebar to switch months; each
row shows the Date, Occasion, and Day. Remove a date with the trash
icon.
Add Holidays opens a compact modal. Enter Date and Occasion, click
Add More to insert multiple rows, then Save.
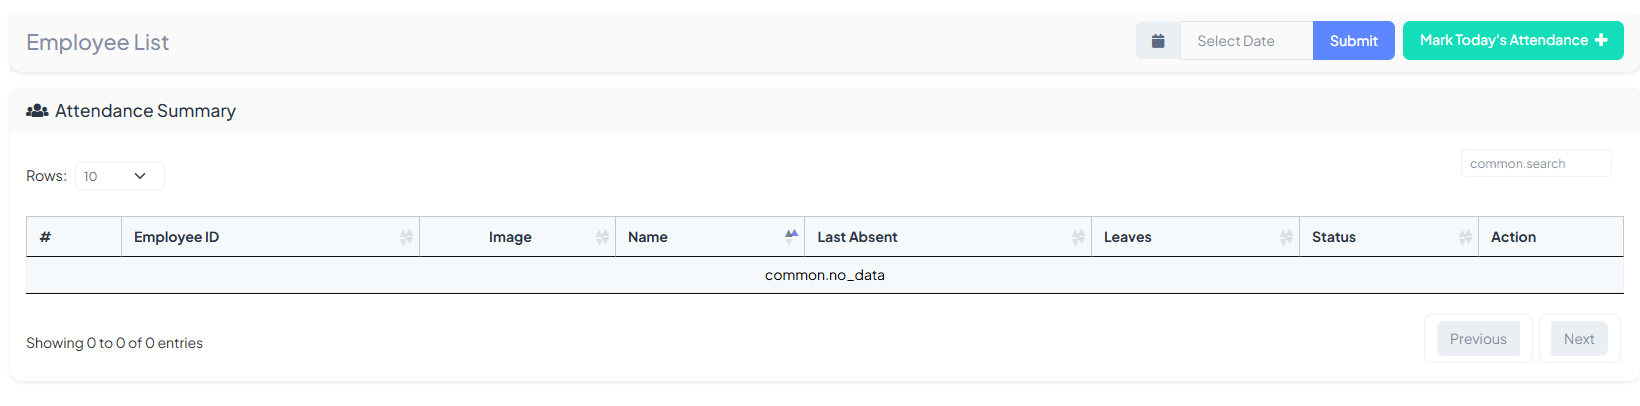
Attendance
Attendance Summary shows all employees for the selected date. Use Select Date ➜
Submit, or click Mark Today’s Attendance for a one-click workflow.
Create Leave Type defines yearly allowances (e.g., Sick, Casual). Enter a Leave
Type and the Number of Leaves per year, then save.
Leave Types lists all configured categories with their yearly quotas. Use Edit
to adjust or Delete to remove.
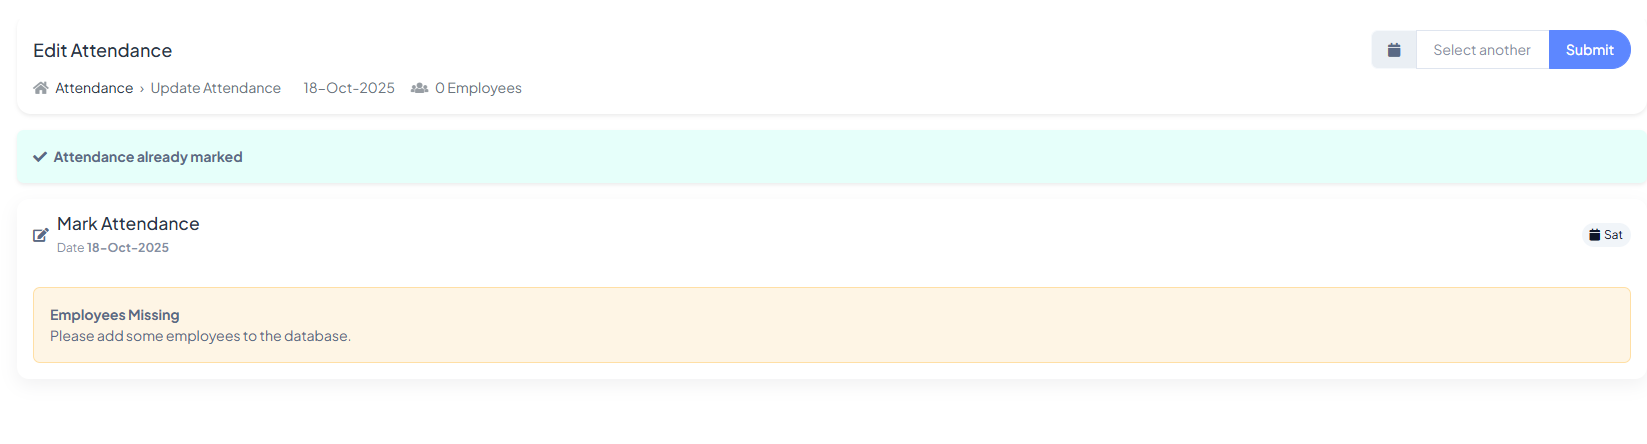
Mark or Edit Attendance for any date. If you see “Employees Missing”, first add
employees in the Employees section.
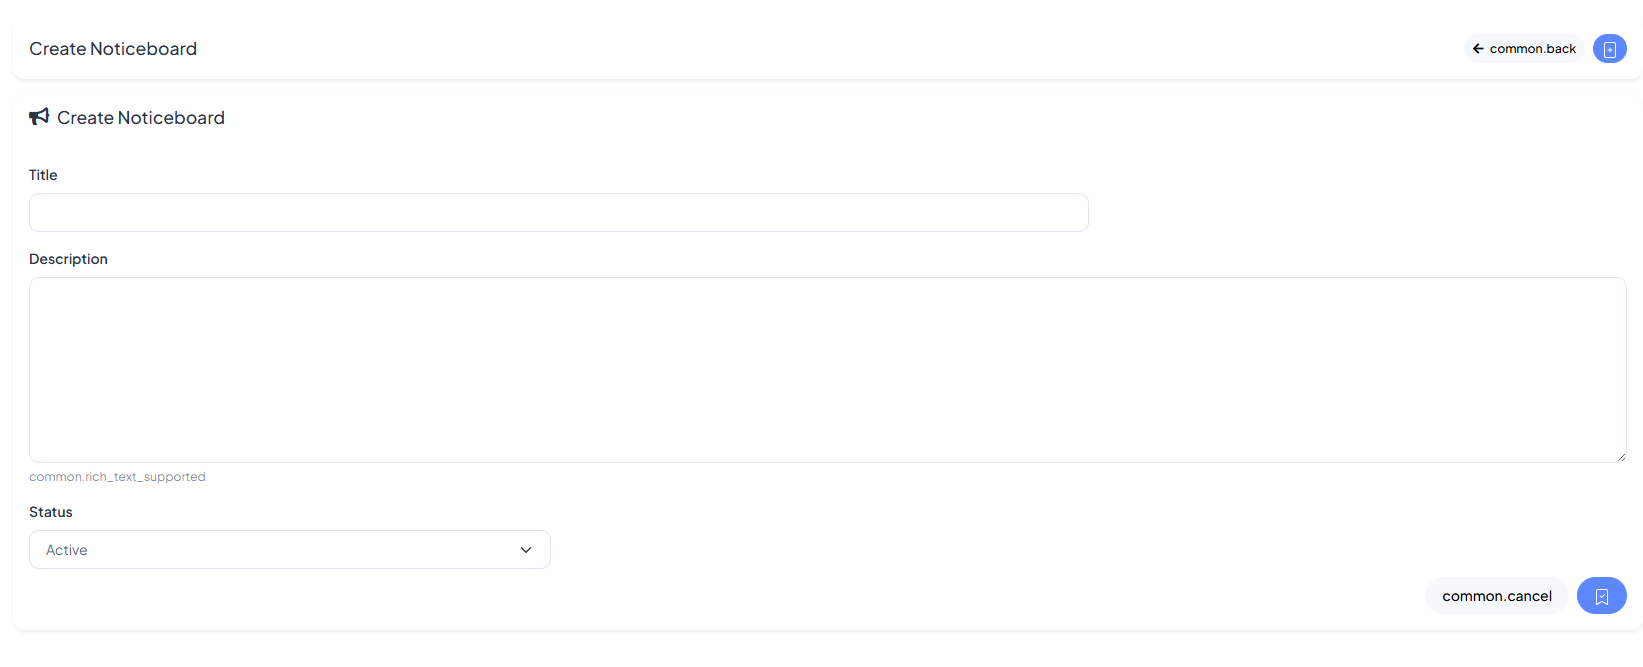
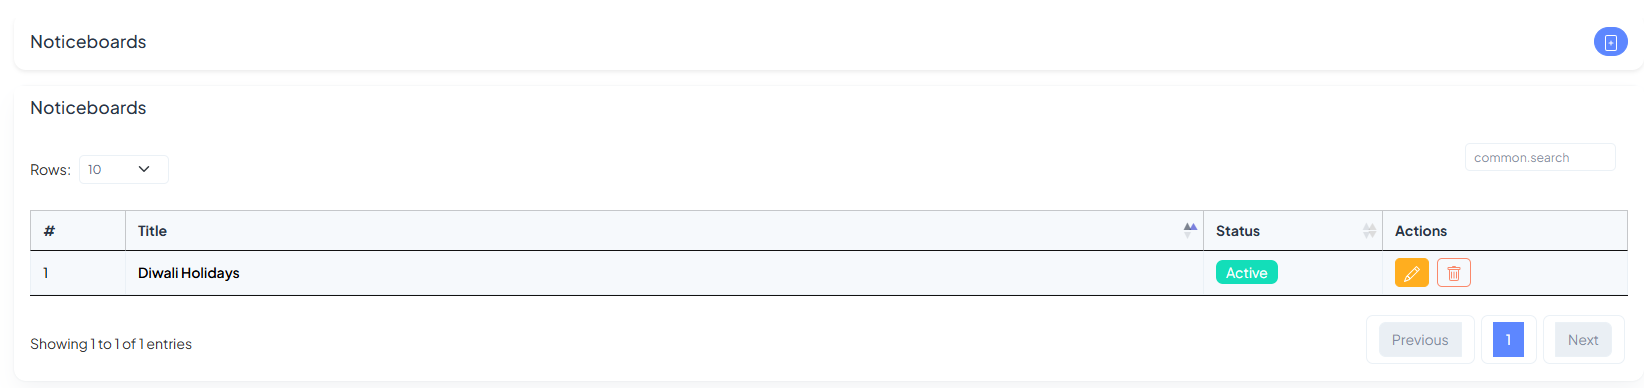
Noticeboard
Create Notice to share company-wide updates. Add a Title, use rich-text
Description, set Status (Active/Inactive), then save.
Noticeboards shows all posts with their Status. Use the action buttons to
Edit or Delete; the search bar helps you locate a post instantly.
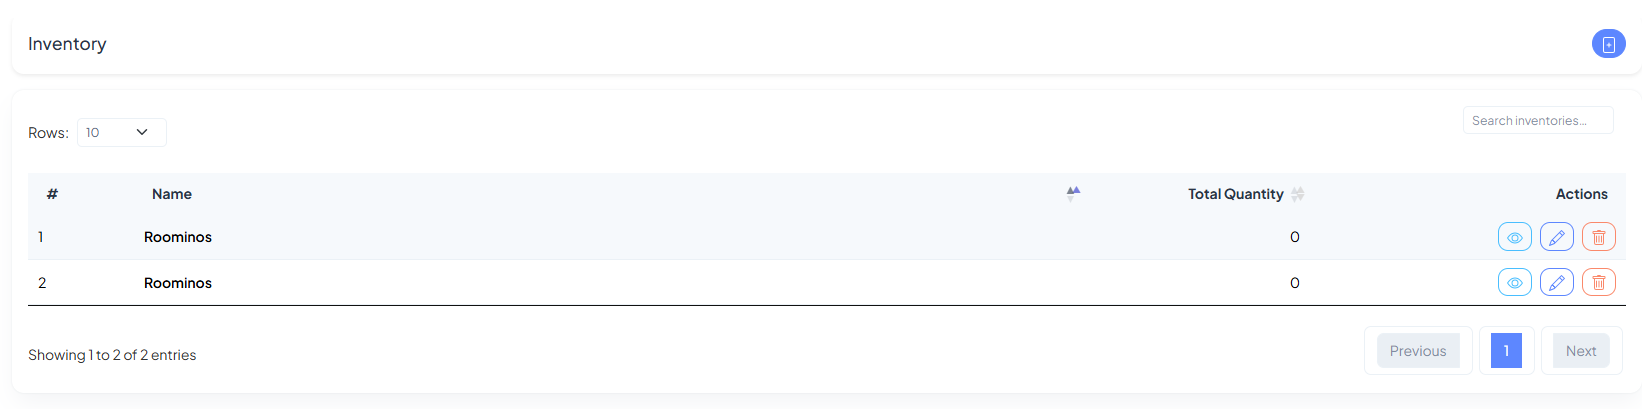
Inventory
Track the things your team owns. Use Branches to organize locations,
Types to define categories (e.g., Laptops, Furniture), and Inventory Items to record
individual assets with owners, quantities, branches, and images.
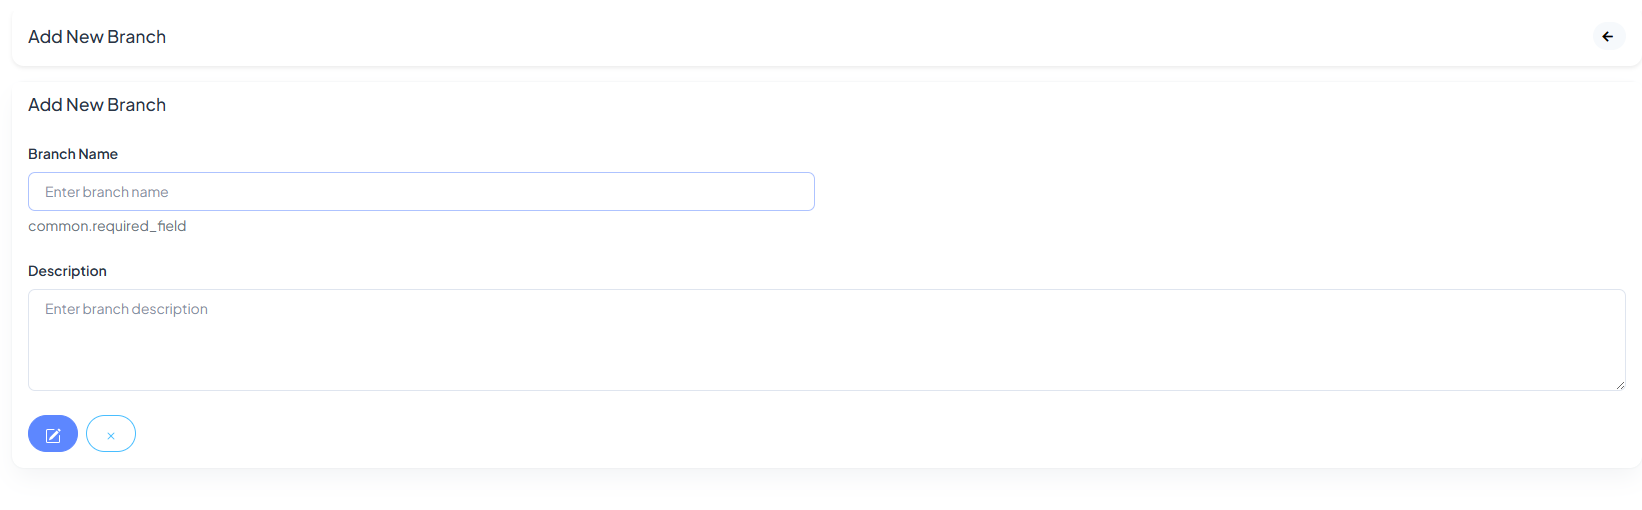
Branches
Branches List shows every location with a short description. Use the actions to edit or
remove a branch; the search and pagination controls help you scan fast.
Add New Branch is a simple form—enter a name and (optional) description, then save. New
branches appear instantly in the list and become selectable across inventory flows.
Types
Inventory Types are categories for your items (e.g., Laptops,
Monitors, Furniture). The table shows each type with its aggregate quantity.
Add New Inventory Type—provide a name and optional description. Types make reporting and
filtering easier and keep your item catalog tidy.
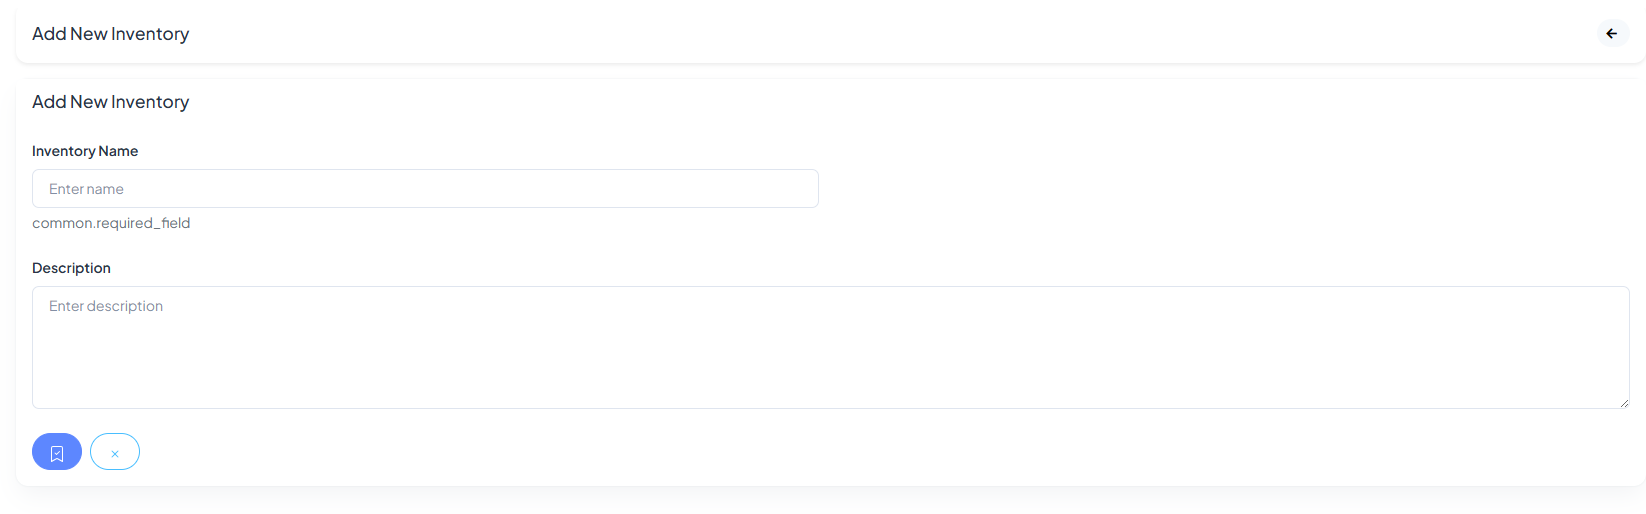
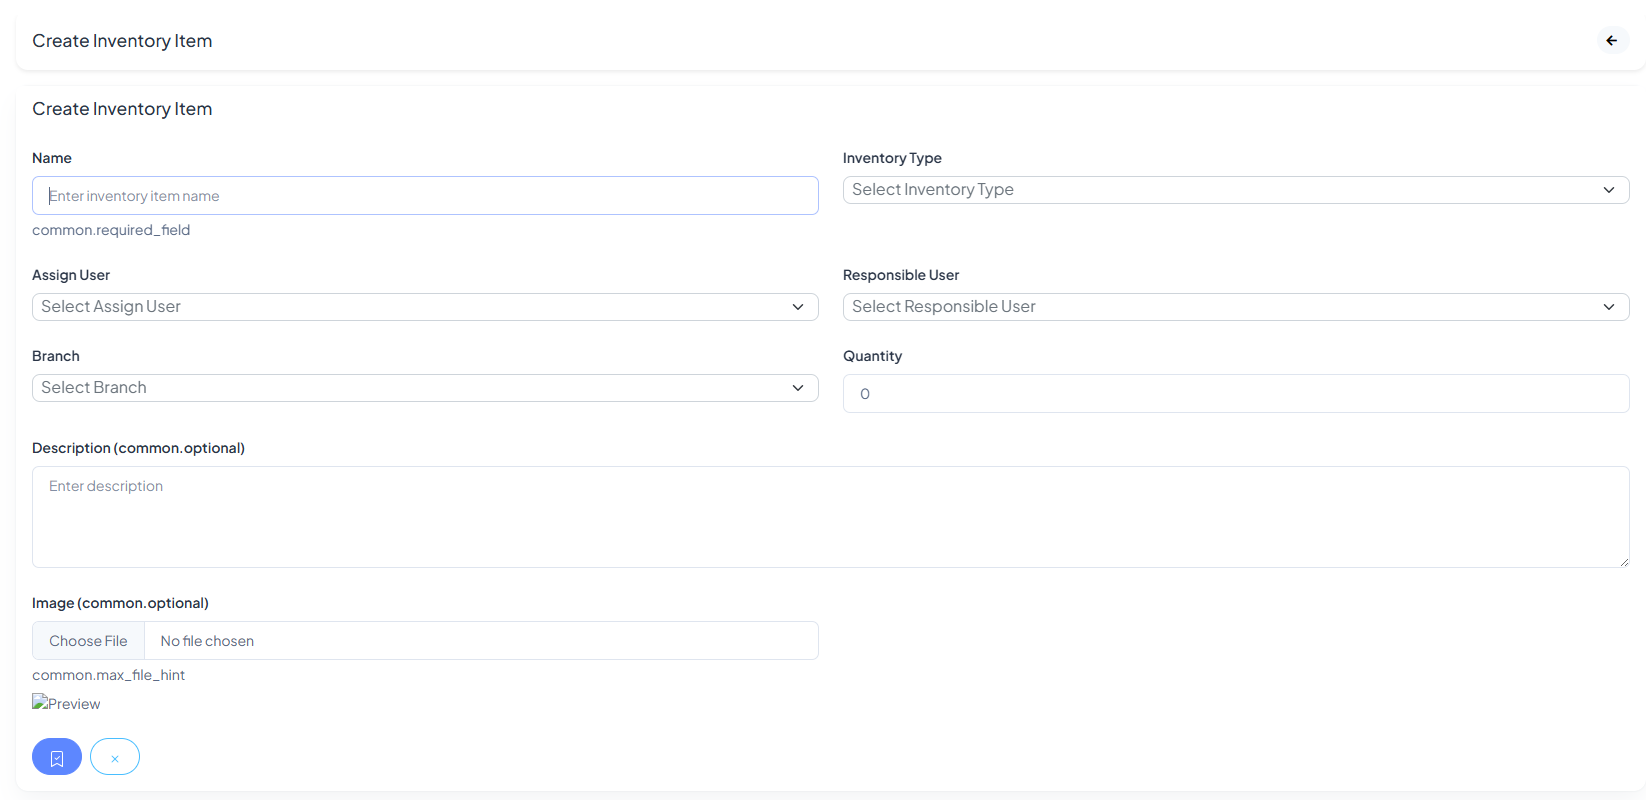
Inventory Items
Items List is your live catalog of assets. Columns include Name, Type,
Assigned User, Responsible User, Branch, Description,
Quantity, and Image, with actions to view, edit, or delete.
Create Inventory Item—set the Name, choose an Inventory Type, and link
Assign/Responsible users. Pick a Branch, set Quantity, add a
description, and upload an image (optional). Save to publish the asset to the catalog.
Plans
Pick the subscription that fits your workflow. The Plans page presents a clean, card-based layout
with price,
billing period, feature checklist, current status, and a single checkout button.
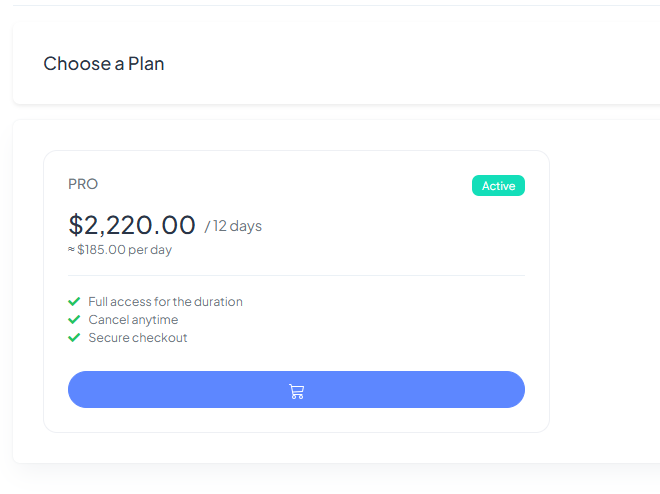
Choose a Plan
Plan cards summarize everything you need to decide at a glance—price, billing cycle, and
what’s
included. Click the checkout button to subscribe instantly.
Plan Card Anatomy
Price & period — The primary price is shown with its billing window (e.g.,
$2,220 / 12 days).
A daily equivalent appears underneath for clarity.
Status badge — The green Active tag indicates your current plan.
Feature checklist — Quick bullets summarize key benefits such as full access, cancel
anytime, and
secure checkout.
Checkout button — Press to start or renew the selected plan.
Managing Your Subscription
After purchase, the card shows your plan as Active. You can downgrade/upgrade by
selecting a different
card when available. Billing renews per the displayed period; you can cancel anytime before
renewal.
Support
Need help? The Support area lets you open tickets, track progress, and chat with our
team. Below are quick intros to each screen with annotated screenshots.
My Support Tickets
Tickets shows every request with Subject, Category, Priority,
Status, and Created At. Use the search box to filter or click the blue eye
icon to view a ticket thread.
Open Create Ticket from here
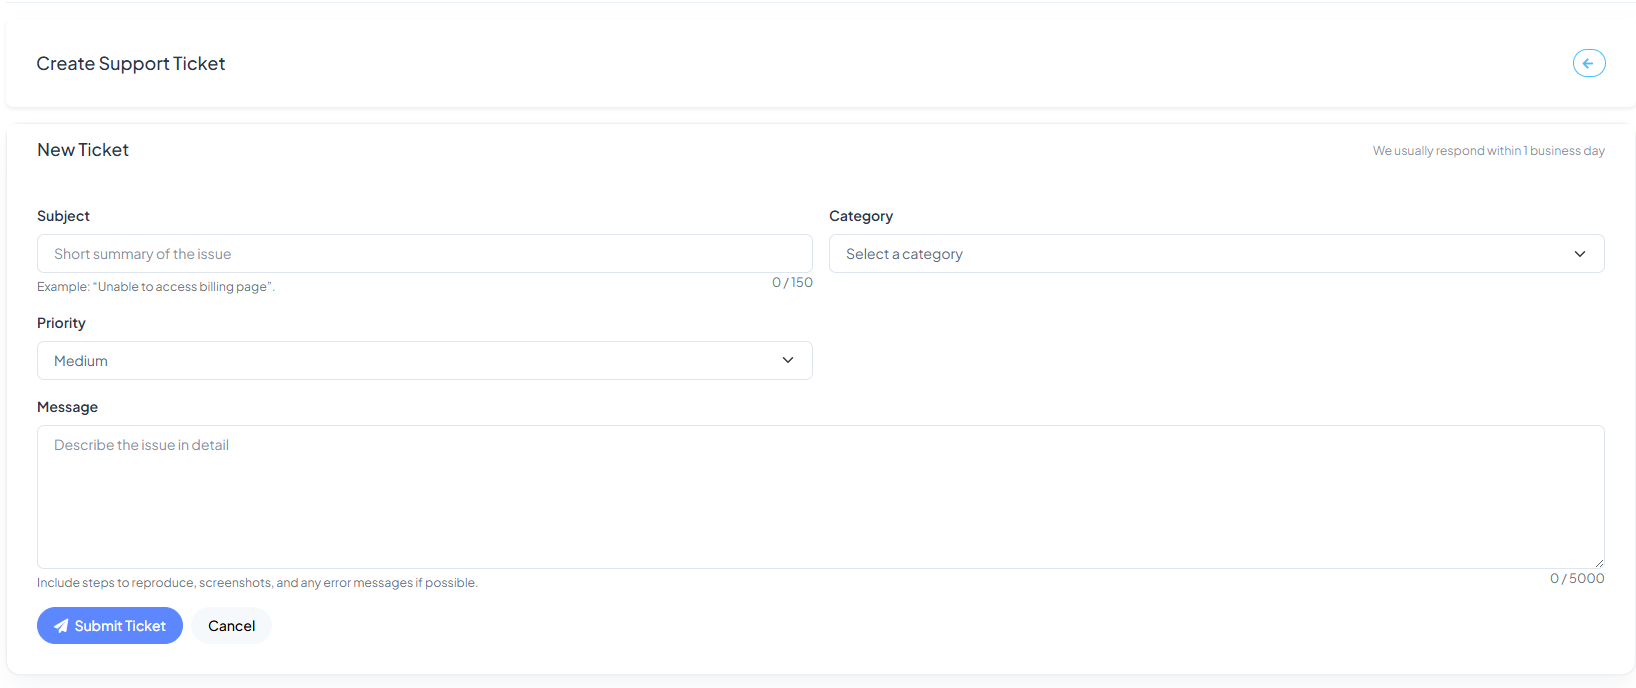
Create a Support Ticket
Provide a clear Subject, choose a Category (Account, Technical, Billing, etc.),
set Priority, and describe the issue in detail. Include steps to reproduce, screenshots,
and any error text. Finally, click Submit Ticket.
Response time: We usually reply within one business day. You’ll see updates instantly in
the ticket thread and via in-app notifications.
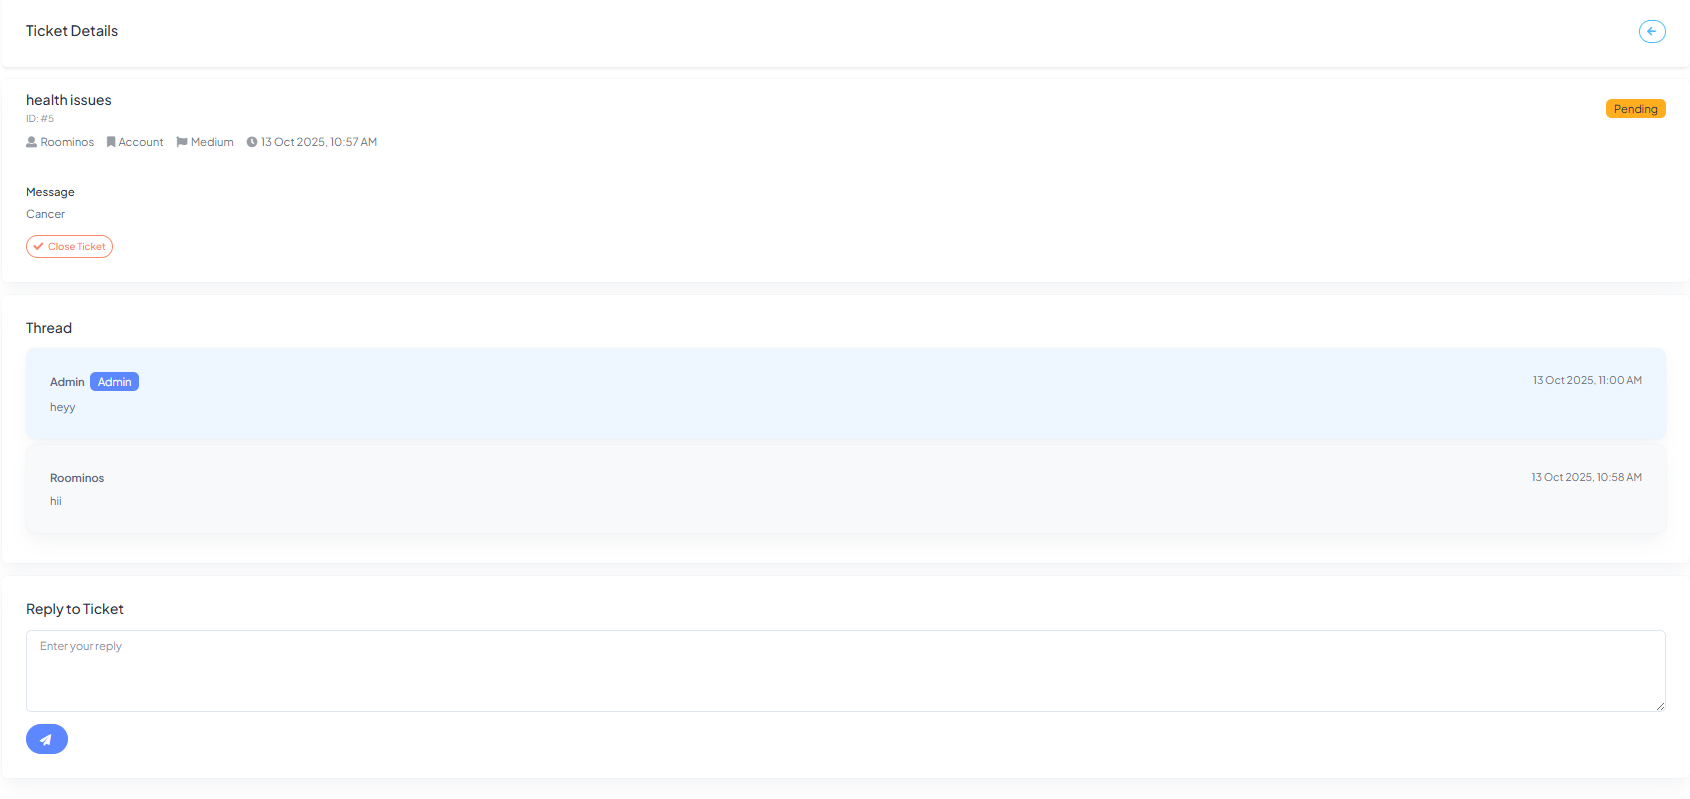
Ticket Details & Conversation
The Ticket Details page shows the request metadata on top (ID, Category, Priority,
Status, Created At) and the full Thread below. Use the reply box to continue the
conversation or Close Ticket when the issue is resolved.
- Status flow: Pending → In Progress → Closed
- Attachments: Paste links or images inside your replies when needed.